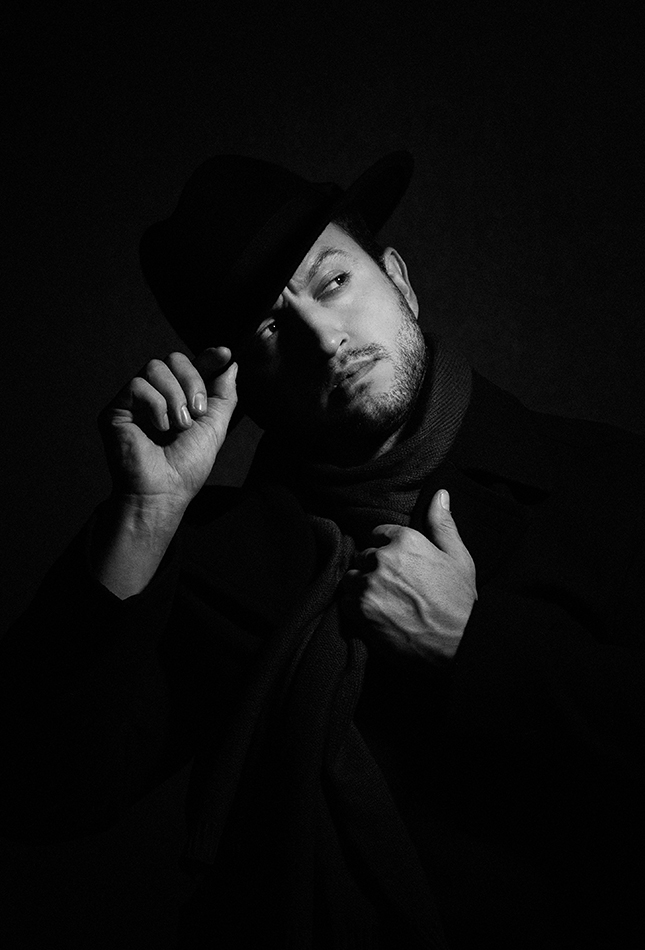
Fort Collins, CO. portrait
We just finished a magazine shoot this week, and as usual we were on a deadline. I actually like deadlines, it focuses my attention and crystalizes image concepts. It might mean a few late nights in the office, but we have a Starbucks right down the street. The model on this shoot was a man, and we were photographing a range of looks and using a variety of lighting styles. Editing the final images, I didn’t need to retouch every little blemish off his face. In fact, I wanted to keep some of the grit since it looked good in the final image. I knew just the tool for the job, the Texture Slider.
Most photographer’s I’ve talked to are using the Texture Slider to….add texture to their image. No rocket science here, this slider is fantastic for improving landscape images. Take a look at my earlier blog post on using this slider to add texture. But I shoot a lot of portraits, and I have really enjoyed using the Texture Slider to do quick, simple skin softening jobs. Start by selecting the adjustment brush, and brushing over the skin that needs to be softened. Next, pull the Texture Slider to the left, which blurs the image instead of adding texture. I find I like values around -20 to -50 to slightly soften skin tones without making them look like plastic. On the film noir image at top I used -20 to smooth the skin. If you need a quick skin softening technique, and one that you can do in camera raw in PS and LR, try pulling the Texture Slider to the left.