If you just updated your Camera Raw, you noticed a new slider above Clarity…the Texture Slider. If you haven’t updated Camera Raw, you should do it today because this slider is fantastic.

Bear River NWR
The texture slider will sharpen areas in your image that are high frequency, meaning areas with a lot of detail. Trees, rocks and grass are high frequency, while the sky is low frequency. By pulling the Texture slider to the right, you will increase the sharpness in these high frequency areas without affecting low frequency (minimal detail) spots. Clarity may seem similar, but it affects mid tone contrast. Clarity will change color and luminance values, whereas Texture will not. I think of it as adding micro contrast to detailed areas in an image. The bottom line…this is a slider you will want use on images with lots of small details. You may find it really helps out as a stand alone slider, or in combination with Clarity and sharpening. Take a look at this image of avocets. The bird feathers have lots of fine detail (high frequency), so I increased the Texture slider to add more detail to this area. Clarity would have not worked as well, and added shadow/luminance/color changes.
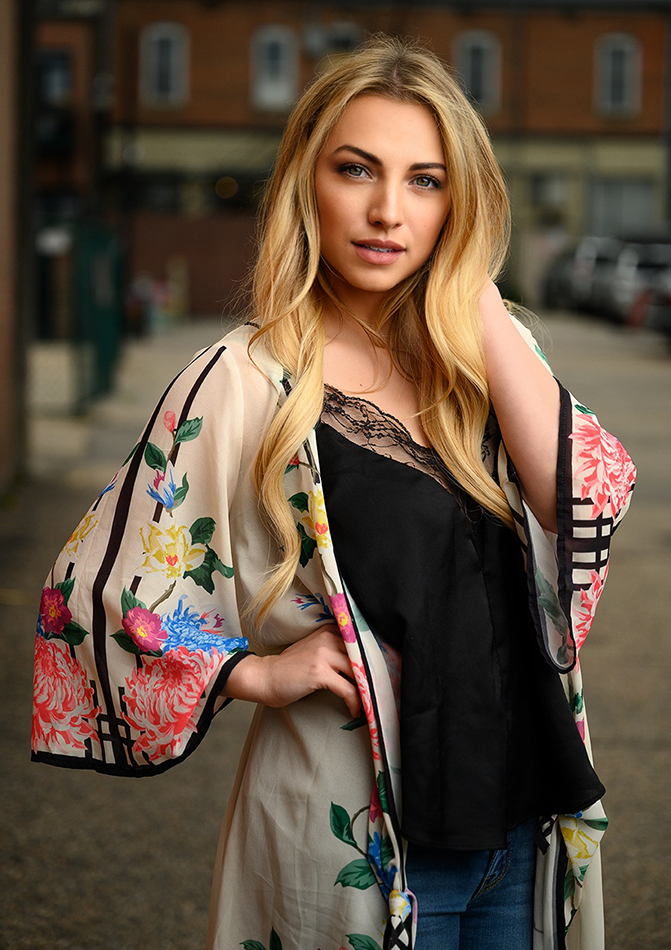
The texture slider was originally designed to work on skin softening, and it does a really nice job. Choose the adjustment brush in LR, brush over portrait skin tones and pull the Texture slider to the left, decreasing the value. It works great, and you can skin soften right in your raw editor. I used this technique on the portrait at top.
It is great to see Adobe introduce another very powerful slider in Camera Raw. Adjusting the Texture slider will be part of my normal workflow in the future.