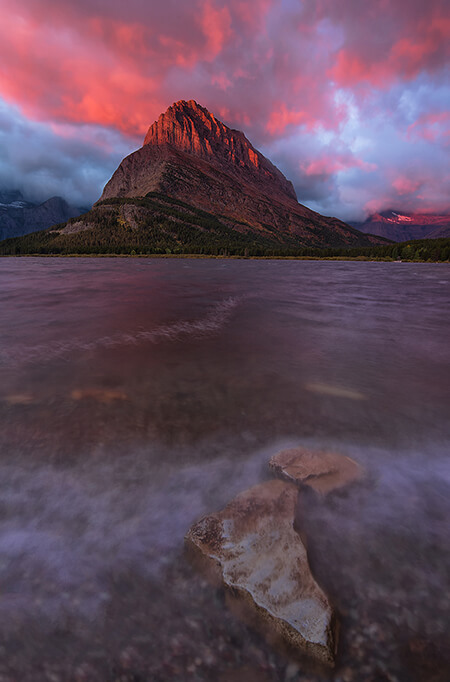
I just returned from an incredible workshop in Glacier National Park with American Nature Photography Workshops. We had three incredible morning sunrises, some the of the best I have seen in years. If I get one nice sunrise I’m pretty excited, but three in a row is amazing. The weather was stormy, more like Patagonia than Montana. Extreme winds and storms blew through the area for 5 days straight. The wind required solid tripod use, but the images were amazing.
One item to watch when you get amazing red sunrises is your exposure, especially your red channel. I normally leave my highlight or ‘blinky’ on in my camera settings to quickly show me where my image is overexposed. This will show most highlights. But occasionally your red channel will be clipped (over exposed highlights) and your blinkies and average histogram won’t show this overexposed highlights. You may get an image with overexposed highlights (the blood red sky) that you can’t retrieve them in Lightroom later.
I do two things. First, I turn on my channel histogram so I can see the red channel and know if it is clipped. I make sure to expose the shot with my highlights and red channel on right against the right side of my histogram, but not clipped. And second, I still like to use graduated ND filters in the field. Using on of these filters reduces the highlights in the sky, and allows you to capture more information on the highlight side of your histogram without blowing out the highlights.
What happens if you blow out the highlights in your sunrise or sunset? The colors will block up and looked muddled with no detail, especially if you create an inkjet print. Not good. Watch that red channel the next time the sunrise of the year unfolds in front of you!