I’m always on the lookout for third party software that streamlines my editing and workflow. I’ve been using Topaz Adjust for years, and really like some of the effects. But recently I have been using Topaz Clarity In Studio, and it is rapidly becoming a favorite.
LR and PS certainly give you some quick sliders to adjust clarity, which in turn is adjusting contrast. But for now there is one Clarity slider. Wouldn’t it be nice to target certain areas of an image to apply clarity? For example, maybe just the micro detail areas. Or maybe the large contrast areas. This is where Topaz Clarity In Studio is excellent.
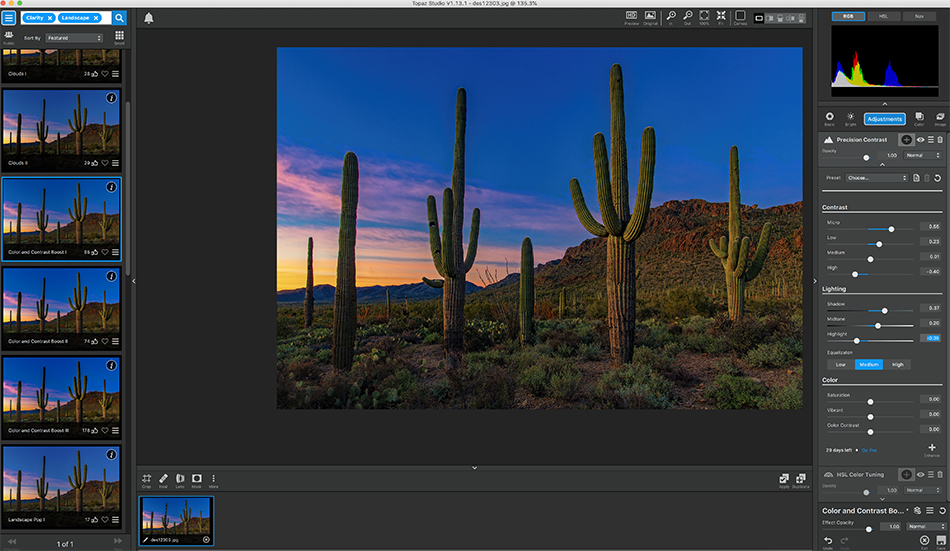
Here is the window you see when working in the is software. You have four sliders to add clarity and contrast where you need it in your image, and not affect areas that don’t want more contrast. I frequently get asked what I do to my images in post to make them pop, and the short answer is add contrast. Clarity In Studio is the perfect tool for job, simple to use, and with dramatic effects.
To use this software you first have to download Topaz Studio…it’s free. Then with this turned on (and you are signed in to your account) go ahead and order your copy of Clarity In Studio. Go to Help in Topaz Studio, and hit the ‘Check for Adjustment Updates’. This will add Clarity in Studio to your Topaz Studio.
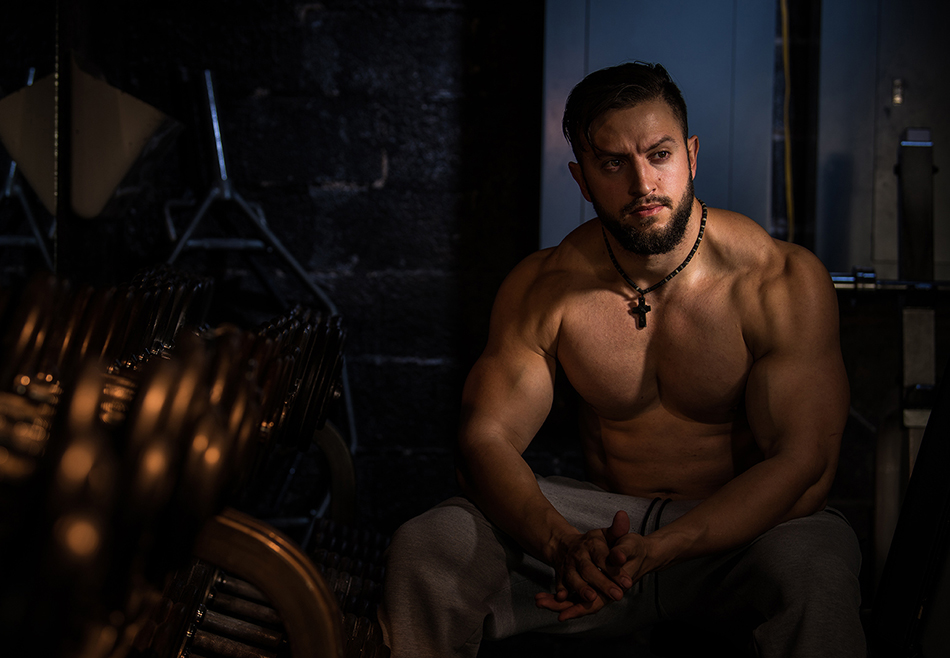
Fort Collins, CO portrait
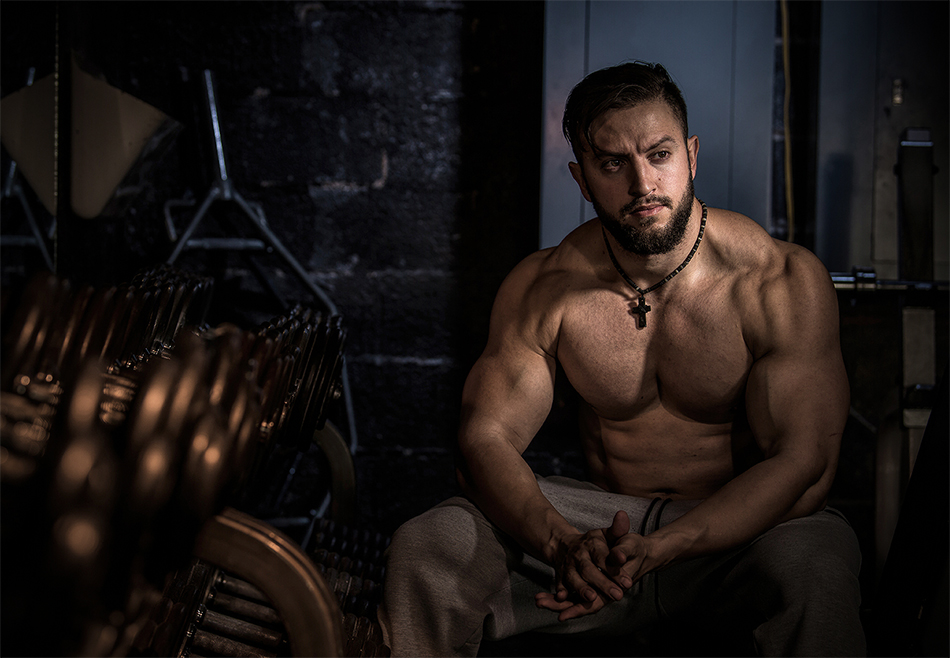
Fort Collins, CO portrait
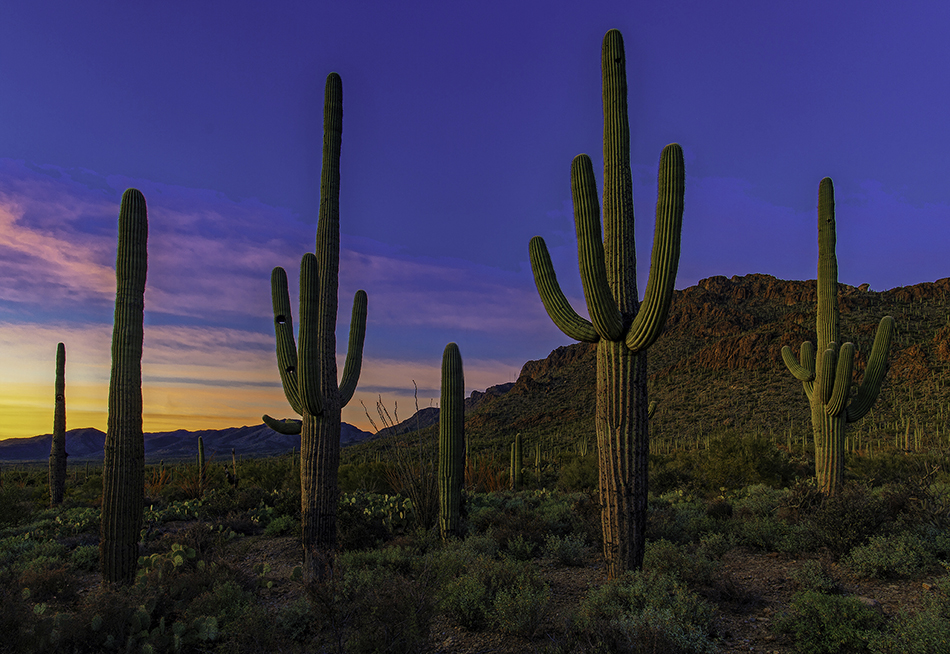
I find this program works great on landscapes (see cactus image at top). But it also works really well for travel images and portraits. The two images above show the before (top pic) and after (bottom pic). And here is the best part; it only cost $49.