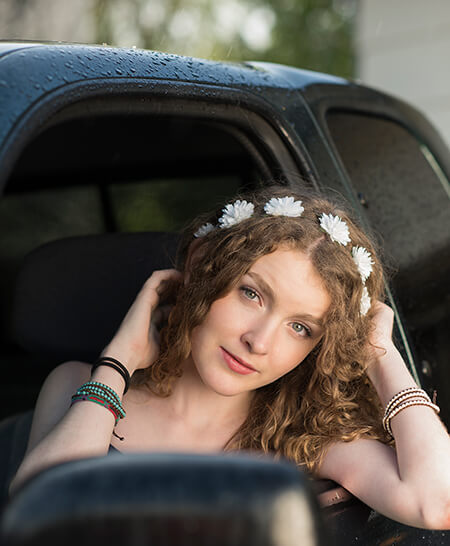
On workshops one question that pops up frequently is how to develop images in post production. And one step, sharpening the image, always gets people’s attention. In Lightroom there are presets and slider controls for manual sharpening, and in Photoshop you have even more sharpening algorithms to use. But whatever method you choose, I highly recommend selective sharpening. This technique offers better results and is what professional retouchers are doing.
Selective sharpening is just like it sounds. Instead of sharpening the entire image, you sharpen selected areas differently. I work in Photoshop, so my workflow goes like this. First, I might actually sharpen the entire image slightly to bump up the overall sharpness. Since I photograph in RAW format, my images need a little sharpening (but not much with the D810!). Next, I look at what I want the viewer to more focus on in my shot. If it is an animal or person, I may sharpen these just a little bit more. If my shot is a tight portrait, then I may do additional eye sharpening.
Pay attention to your depth of field and focus point on the image. If you are using a shallow depth of field, then you don’t want to sharpen elements that you are trying to keep out of focus. Take the image at top as an example. I was working with a gorgeous young model, Esther, and we wanted a summertime feel to one of her portraits. I chose F2.8 to keep the background out of focus and add to the dreamy quality of the shot. Since I didn’t want to sharpen the background, I only sharpened Esther’s face and eyes even more so.
How do you add sharpening to selected parts of an image? In Photoshop I duplicate the layer, add a layer mask filled with black, and then brush in (using white) what areas I want sharpened. If you are working in the RAW converter (Photoshop and Lightroom), you could use the adjustment brush to do the same thing. Not all images need selective sharpening, but this is a valuable technique for many photos.