![]()
We’re in the middle of an online class right now discussing the new masking features in Lightroom and Photoshop. If you work in Lightroom, this is a major update and allows a lot more power in selective editing. With just one click you can select a subject by a number of methods, invert, refine and even color select within an existing selection. AI powered editing is changing how we do things in LR and Photoshop; we don’t even use selection techniques we were just teaching a few years ago because of new, more powerful editing tools.
One question that came up was how to reduce the halo that sometimes shows up around your selection after editing. Take a look at the image above. The red arrow points to a bright highlight that goes all the way around this beach spire. This happens frequently with selections while adding strong contrast, exposure, clarity….So is there an easier way to get rid of it? Yes!
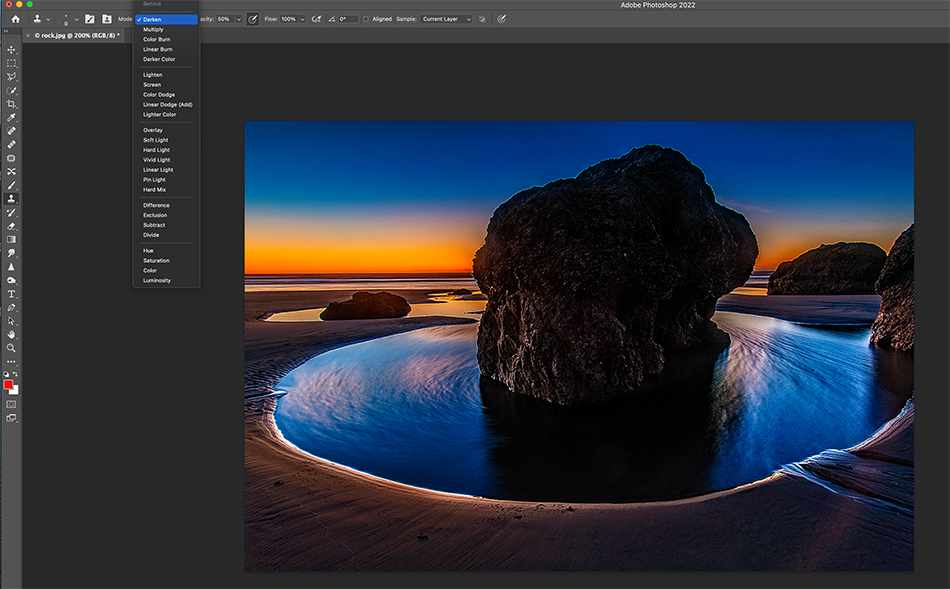
In Photoshop find your Clone Stamp tool and select it. In the properties bar at the top, choose a blending mode of ‘Darken’. See image above. You can reduce your opacity to 50 percent or so if you like, but often this technique works just fine at 100 percent.
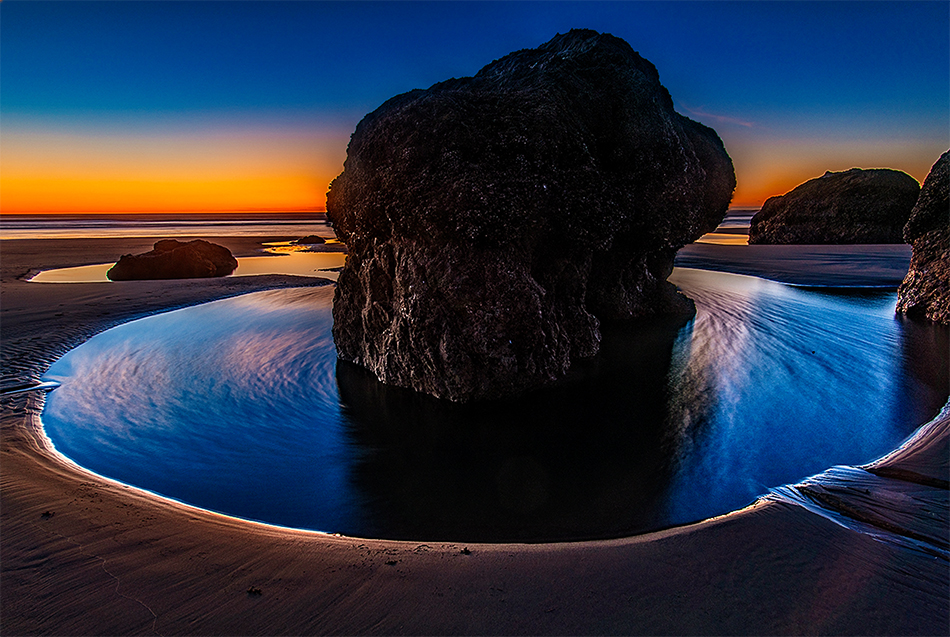
Zoom in on your image. Sample a dark area just to the side of the bright area you want to eliminate. In this image I sampled the sky directly beside the halo edge of the spire. Then start to clone stamp over the bright edge. Presto! The white edge goes away, while nothing affects the rock at tall. Using ‘Darken’ mode instructs the clone tool to only affect pixels that are brighter than the sampled areas. So the halo goes away, but the dark rock isn’t affected.
Enjoy your weekend, and don’t watch too much football! Get you and enjoy some winter photography!