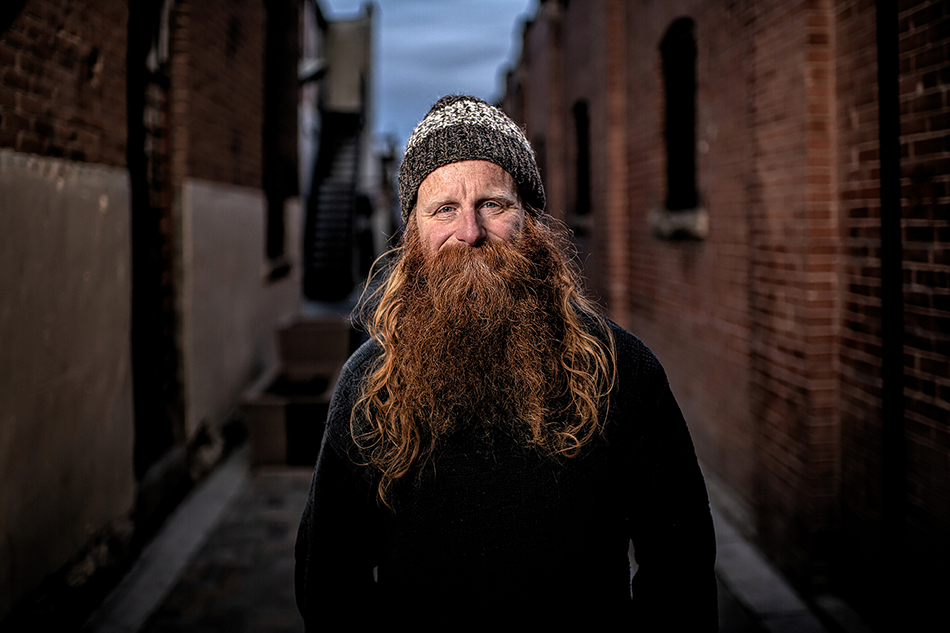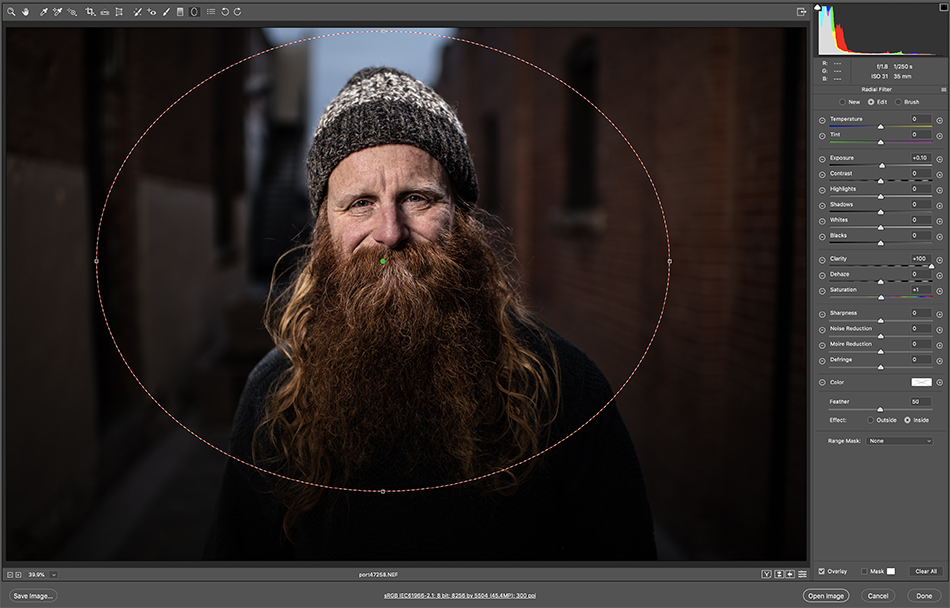
We just finished a portrait shoot the other day of a terrific model in a gritty local alley. Well, as gritty as Fort Collins can get, which isn’t much. But the image came out nice using a 35mm 1.4, one of my favorite environmental portrait lenses. In post I wanted to work on the surrounding background, and went to one of my favorite tools, the Radial Filter.

Both LR and PS have versions of this filter, and both let you affect what is inside the filter, or on the outside. If you want to add a vignette, or add some gritty clarity to the edges, this tool is perfect. The radial filter allows you to choose the size and amount of feather to gradually edit effects into your image. While the adjustment brush is nice to pinpoint specific areas to edit, the radial filter is terrific for gradually applying a look in a circular or oval pattern.
The radial filter is one of my favorites for working on portraits. Typically I will apply a radial filter to my subject, then invert the selection so I can work on the surrounding areas. For gritty backgrounds I’ll add clarity, contrast, dehaze and tweak color balance as needed. And if I need to vignette an image, I’ll use the radial filter as well. This filter gives me all the control I need to accurately add a vignette to my image.