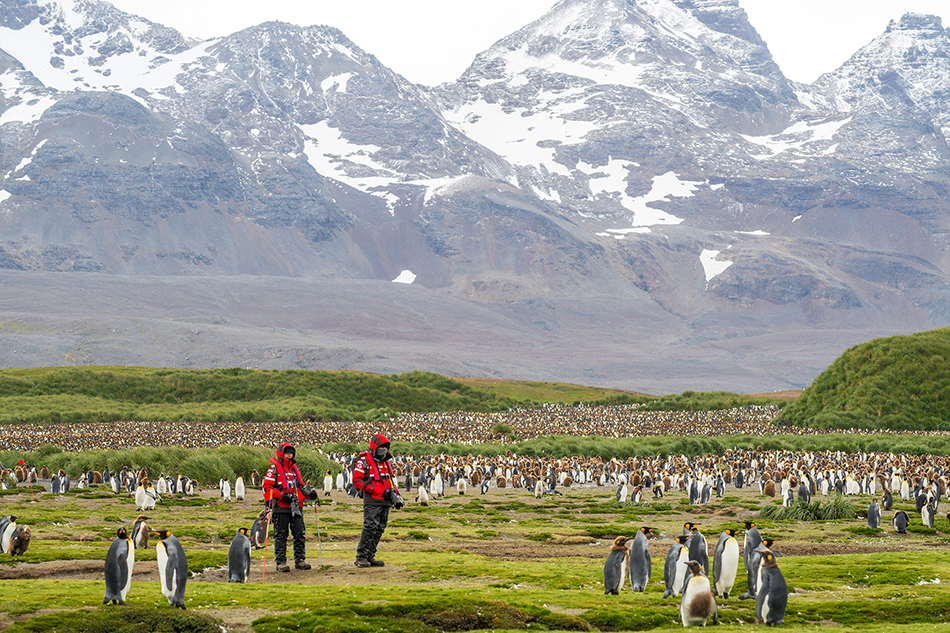
I just returned from three weeks in Antartica, South Georgia and the Falklands. This is a bucket list trip for photographers, one of the most amazing experiences and loaded with beautiful photography opportunities. Cree and I were leading a photo workshop, and this was my second time leading a trip there. Things had changed since my last visit, mainly the restrictions on being able to sit in the snow and get close to penguins. Bird flu has been reported in Antarctica, and the expedition cruises are doing their best to prevent any spread of the disease. The good news is there were just as many penguins, seals and whales as I remember from 20 years ago photographing Antartica. But since you can’t put your pack down on the ground, I packed differently this trip.
This is my short list on what to pack for a photography expedition to Antartica and some tips that will help you get the most out the trip. I will focus primarily on photo gear, not clothes. The expedition ships will send you extensive materials on what to pack for your trip.
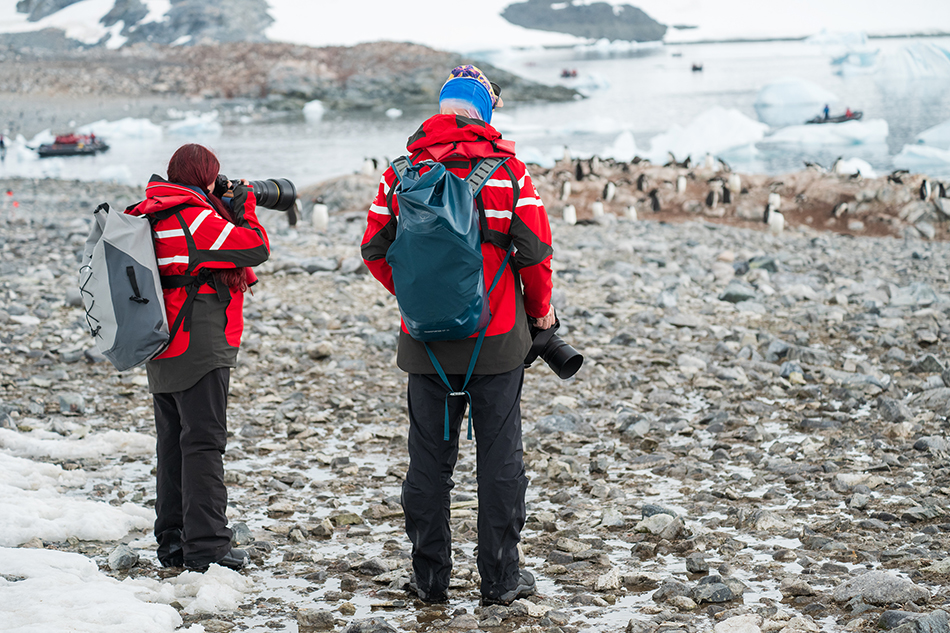
Photo backpack or not? You land in Antartica via a zodiac shuttle to the beach. And sometimes you might just cruise in the zodiac if it is too rough to land. I brought a photo backpack to carry with me on the plane, but I only used my waterproof backpack in the zodiacs. Why? Because the zodiac rides can be very wet, and you might be cruising in heavy rain or snow. Sometimes the wind was so strong waves blew back into the zodiac, and we would get completely soaked with 1 inch or more of standing water in the bottom of the zodiac. If you put a standard photo backpack on the floor of the boat, even with a a rain cover, the water is going to seep in. I carried a waterproof 30L backpack (Osprey Transporter 30L).

Once on shore you were allowed to reorganize your gear on a tarp set up on the beach. I would take my camera(s) out and start shooting. Most times I carried one body and switched lenses, but sometimes I carried two bodies with lenses attached. It got a little tight in my backpack to have two complete cameras set up. I would wrap a t-shirt or extra layer around my gear to pad the cameras in the pack. If I need to change lenses or get something else out of the pack, I would take off one shoulder strap, twist the pack around to my frontside and get things in and out of the pack. The beauty of the waterproof backpack was I knew my gear was totally dry as the waves crashed over the boat and water was on the floor. This only happened a few times on our zodiac rides, most of the time the weather was pretty good…but be prepared.
Another option I might try next time is bringing my Mindshift Backlight 26L and a larger waterproof bag. I could transport my pack in the waterproof drybag in the Zodiac, then carry the backpack on shore while shooting. The big advantage would be being able to twist the pack to the front and access gear through the back panel.
Double harness camera system. I brought a double harness camera system as I thought I would get to shore, attach two cameras, and this would be great to easily grab a telephoto or wider angle lens for fast shooting. But this is where things are different from my last trip. I was constantly leaning over to shoot at ground level using my LCD screen since I couldn’t sit on the ground. With the double harness system my second camera was constantly hanging from my neck almost hitting the ground, even when using the strap stops that come with it. It was just too much gear to be dangling around trying to lean over and get as low to the ground as I could. I found I did this type of shooting with only one camera out to make it quicker and easier. If you don’t plan on getting to ground level, then the double harness system might be an option for you. I also didn’t like trying to get it on along with the life jacket and multiple other layers I had on.
Rain covers. Yes, bring a good rain cover for your camera/lens, and use it. I can’t tell you the number of times on workshops I hear how ‘waterproof’ a camera system is, and people shoot through rain and heavy wet snow saying it is all good. And guess what…the next day a camera isn’t working, or a lens is fogged up. It might be a hassle to put on a rain cover, but do you really want to risk gear on a three week Antarctica trip? I like the Think Tank emergency rain covers.

Two camera bodies. You are going to get a lot of wear and tear on your cameras on this trip. Getting in and out of zodiacs, bad weather, folks constantly shuttling your camera pack on and off boats and shore. Bring two bodies so if one breaks you have a second. We brought z9s, z8s and one z6III…they all worked great and we never had a problem. Consider bringing a GoPro and stick if you want to stick a camera underwater from the zodiac when whales and seals approach.

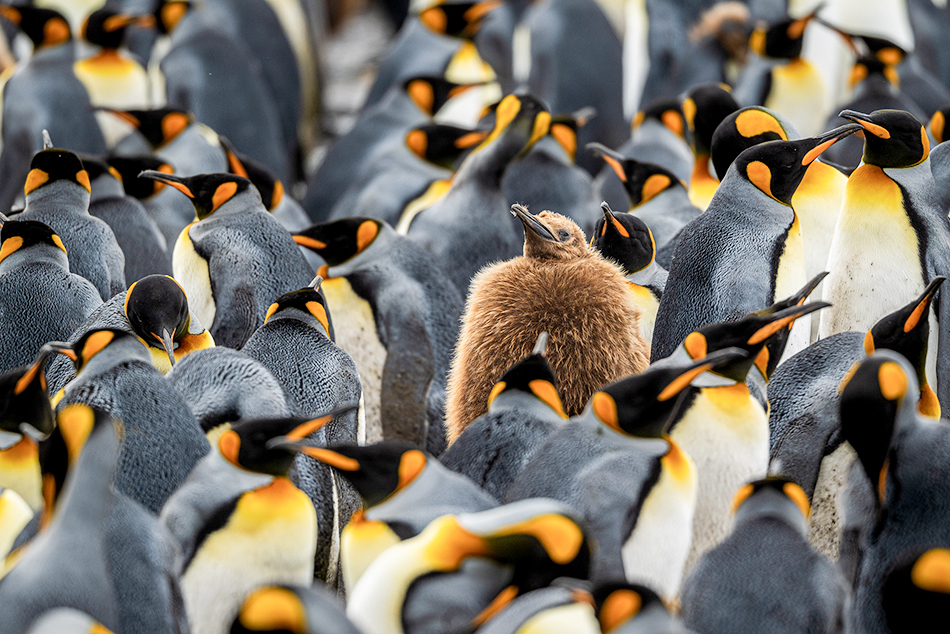
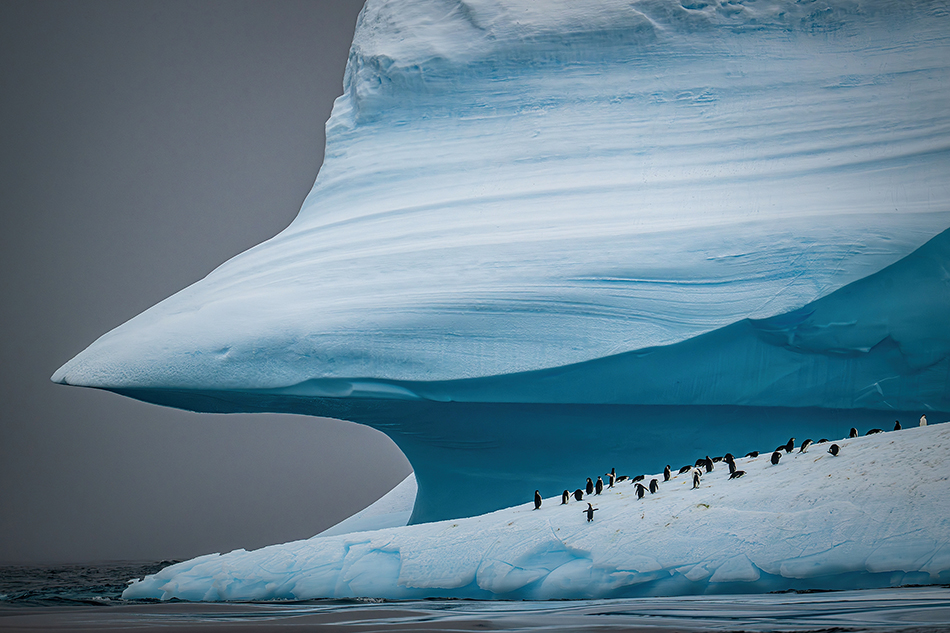
Lenses. If you watch the numerous online videos on what lenses to pack for Antartica you will hear how close the wildlife is and you are fine with a 400mm. My experience was this…I shot 95 percent of my images using three lenses evenly….the 24-70mm, the 100-400mm and the 600mm PF F6.3. If you want to get close to penguins, especially chicks, you are going to need more than a 400mm. And shooting penguins from the boat I generally used my 600mm. The Nikon PF version of the 600mm is only 3 pounds, a great light choice for on the fly wildlife photography. And since it is light I could shoot at ground level using my LCD…this gets harder with bigger and heavier lenses (imagine bending over all day using a 600mm F4!). I liked the 100-400mm for environmental wildlife shots, and big groups of penguins and also icebergs. The 24-70mm was great for close low angle penguins shooting and landscapes. I also brought a 14-24mm, which I used only a few times, and the Nikon Plena 135mm F1.8 for buttery smooth backgrounds on close penguins. Next time I won’t bring the 14-24mm or the Plena, just stick with the 24-70mm, 100-400mm and 600mm F6.3. And maybe a 1.4x converter.

Filters. I brought a Singh-Ray polarizer and a graduated ND 3 stop hard edge filter. I didn’t use these much, but I would bring them again. Depending on the time of year your go and exact route, you might use filters a lot. I did not bring a solid ND filter since I didn’t bring a tripod.
Tripod. Similar to my first trip, I didn’t bring a tripod. I never wished I had a tripod, it is just more gear to haul around on the beach. If you want to do slow shutter speed shooting of crashing waves, consider bringing a lightweight tripod and 10 stop ND filter.

Flash. My first trip to Antarctica I brought a speed light and did some fun portraits of the ship crew and some creative beach photography. But with the new restrictions flash photography is discouraged so I did not bring a flash on this trip.
Flashcards. I shot 50,000 over the 20 day boat ride, so bring lots of flashcards and backup drives. I brought my laptop and edited images at night.