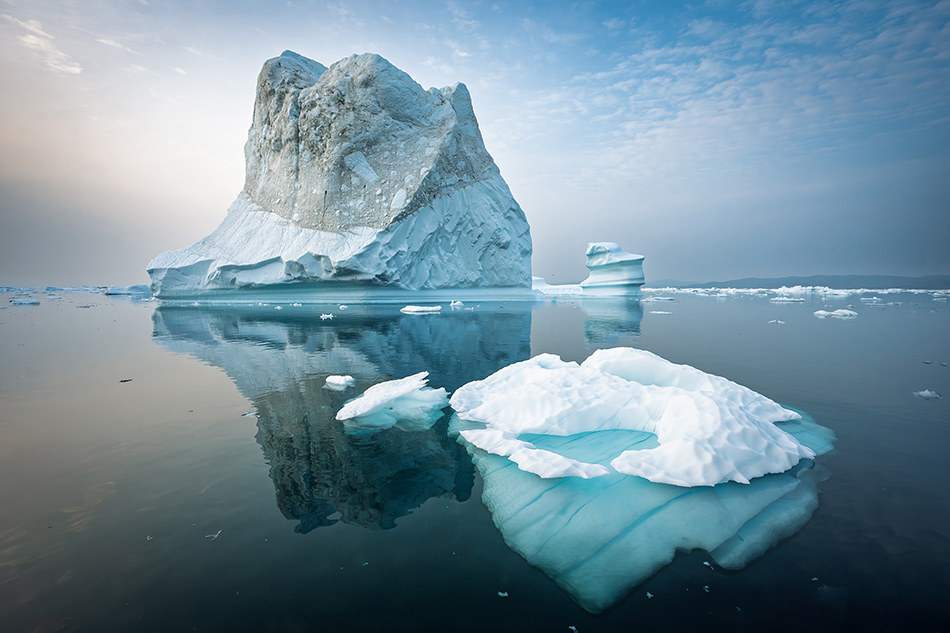
I just spent the day yesterday exploring Prince William Sound, and a highlight of the tour was photographing the calving Harvard Glacier in College Fjord. This glacier is 1.5 miles wide when it cascades into the ocean, and over 300 feet tall. We photograph a lot of glaciers on our workshops, from Greenland, Iceland, Patagonia, New Zealand and Alaska all the way to Antarctica. We often get questions on what is the best approach to photographing glaciers. Is there any specific techniques to use, or graphic qualities to capture? Below is a list of things to consider the next time you encounter beautiful icebergs and towering tidewater glaciers.
Watch the horizon. This tip is pretty simple. If you are on the ocean photographing ice from a boat, watch your horizon. Rocking boats create challenges for photography, and I seem to constantly have ocean horizons that aren’t flat and horizontal. This is easy to fix in LR or PS, but just keep an eye on your horizon and make sure it is flat.
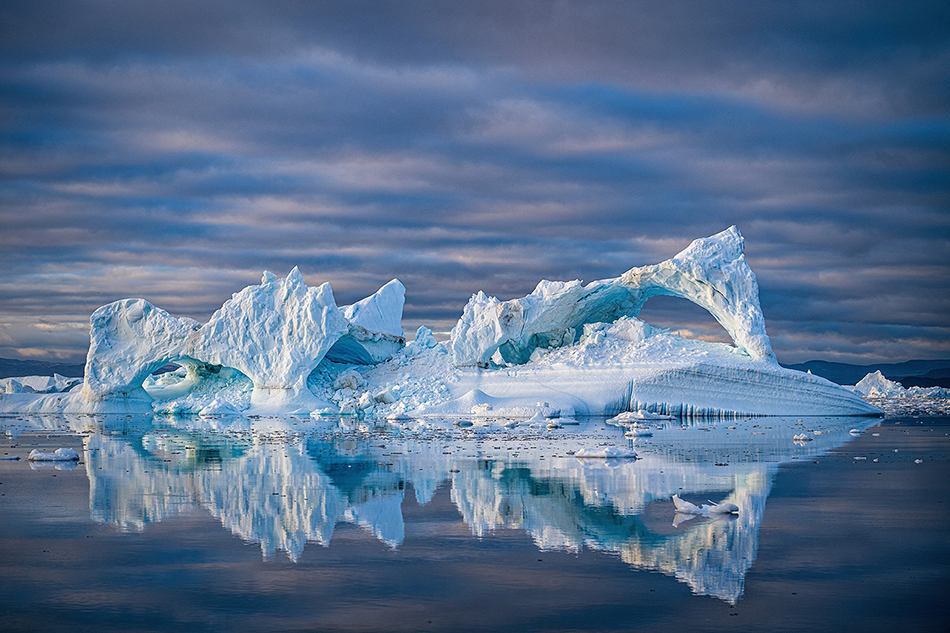
Reflections look great. If you are photographing on the ocean, or a lake, keep an eye out for reflections. In Greenland last year we had stunning evening light (at midnight!) and flat seas, which resulted in some beautiful reflections. Capturing 50/50 reflections (half above, half below) creates stability and tranquility, while reflections that include more sky and less foreground are more dynamic. Try photographing just the reflection and not the physical subject for something different.
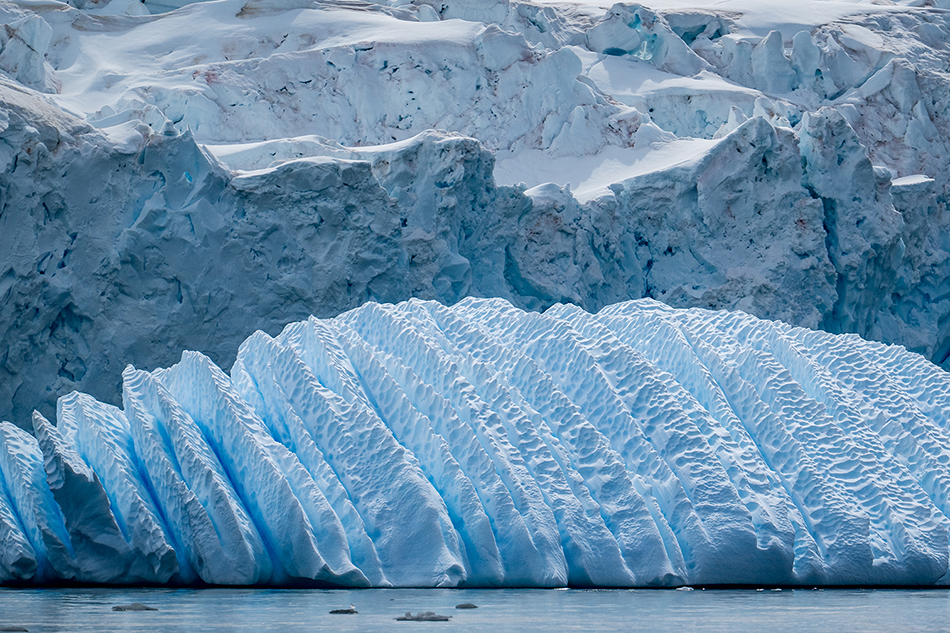
Contrast textures. Tidewater glaciers often have smaller icebergs in front, which might be a completely different color or texture than the background ice. This creates a great opportunity for photographers…juxtaposing different ice textures and colors on top of one another. Sometimes the foreground ice has different lighting than the background ice, presenting even more possibilities.
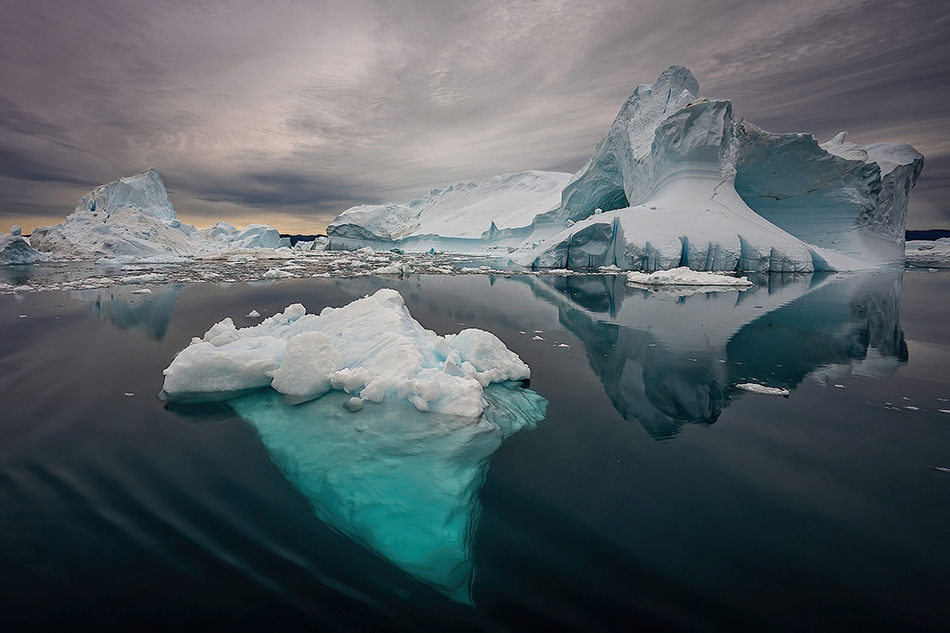
Look below the water. About 10 percent of an iceberg is above the water. Often you can see a lot of the submerged part of an iceberg underwater, and this can be an interesting part of your image. Some glacier waters may be murky, but other bays will be clear and underwater ice can be striking in your final composition.
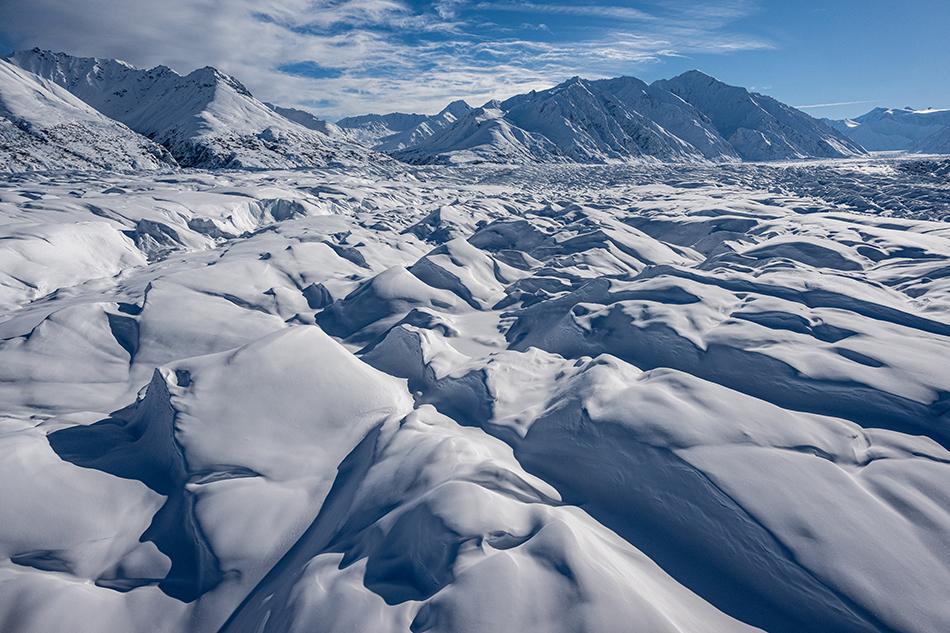
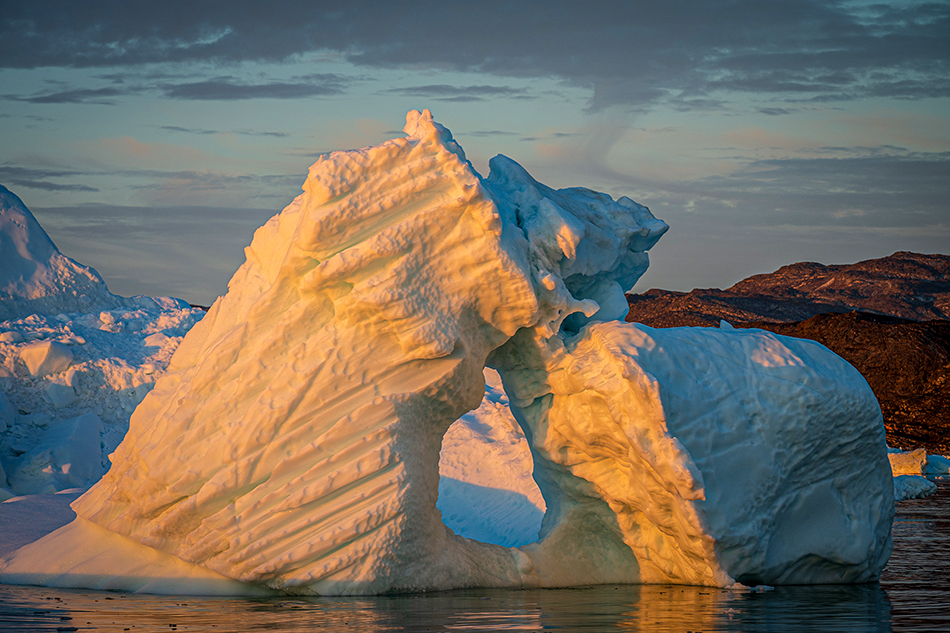
Graphic shapes rule. Glaciers often have very bold graphic qualities…deep blue color, strong lines and shapes. After I get some wide angle shots of the ice and the surrounding mountains, I zero in on graphic elements. Repeating shapes or leading lines will allow you to produce strong graphic images. Sometimes natural arches are formed, which create special photographs.
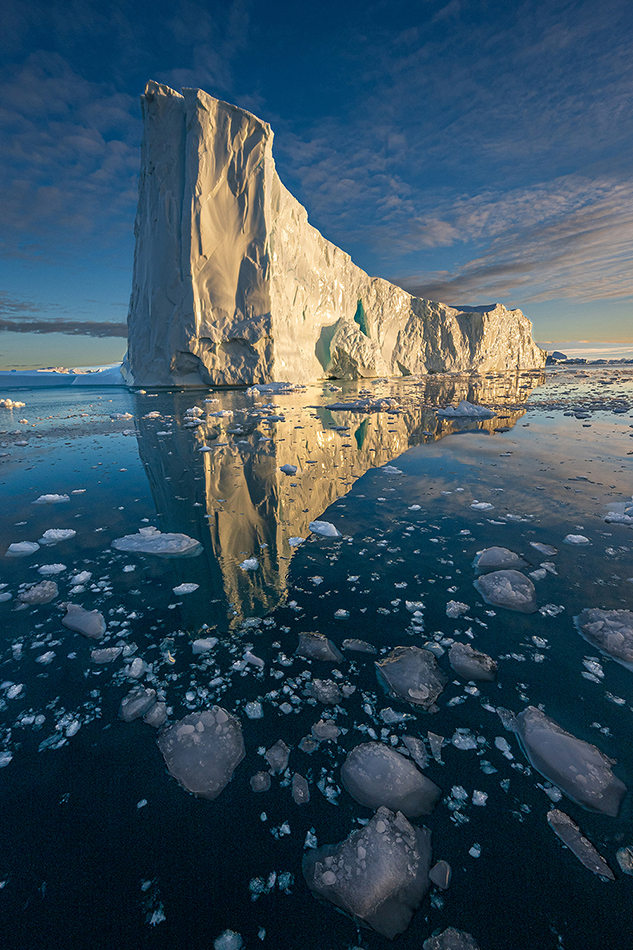
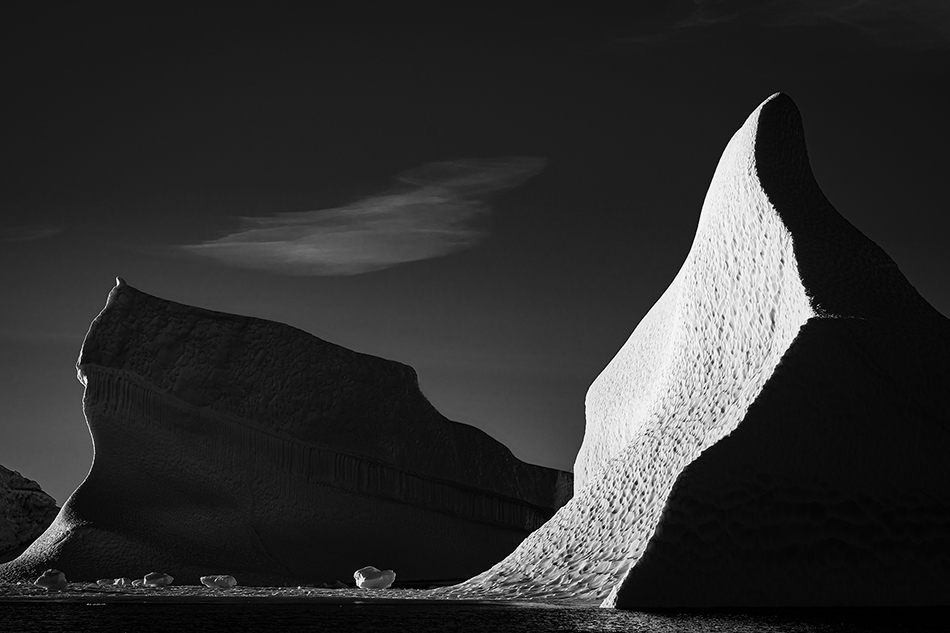
All light is good. You will often hear the best light for photographing glacial ice is overcast since this allows more of the blue color to come out. This is true, you can get great blue ice with no glare on cloudy days. But sunny days are awesome to….imagine the shadows and contrasty edges created by direct sun. How about black and white? And late evening warm sun is incredible. Imagine warm sun on ice with cool blue foregrounds of ice not illuminated by the sun…a fantastic color palate adding dimensional qualities to your image. Polarizer filters will help on sunny days to reduce the glare on the ice. As an editor once told me, “there is no bad light, only photographers who don’t know how to photograph using it…”.
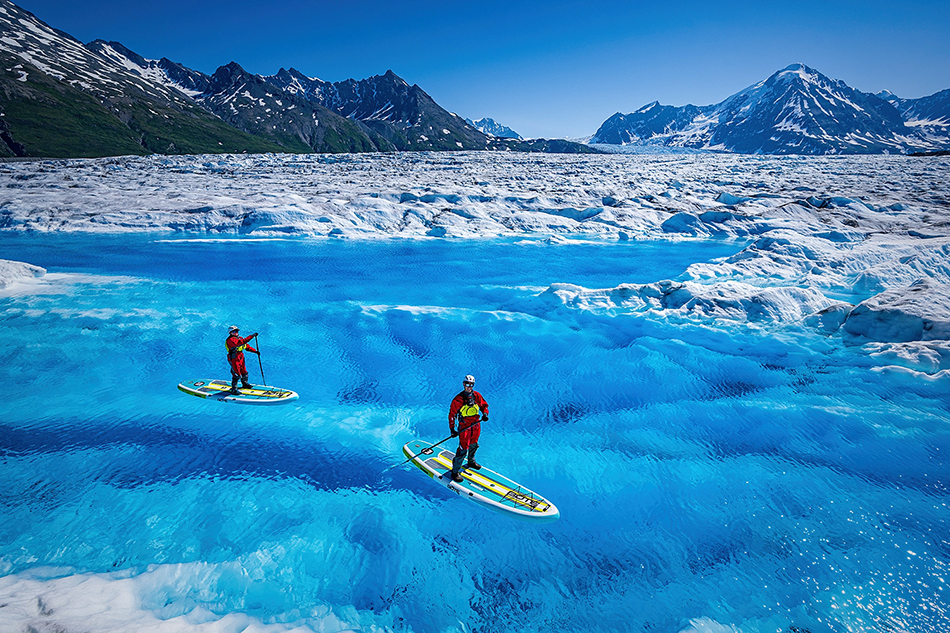
What about scale? Glaciers are generally really big, and trying to convey the enormity of the ice can be challenging. Photographing a fishing boat in front of a glacier gives it scale. Or how about someone climbing on the ice, or floating in a glacier pool. Adding a human to the photograph creates tension and scale to the scene.
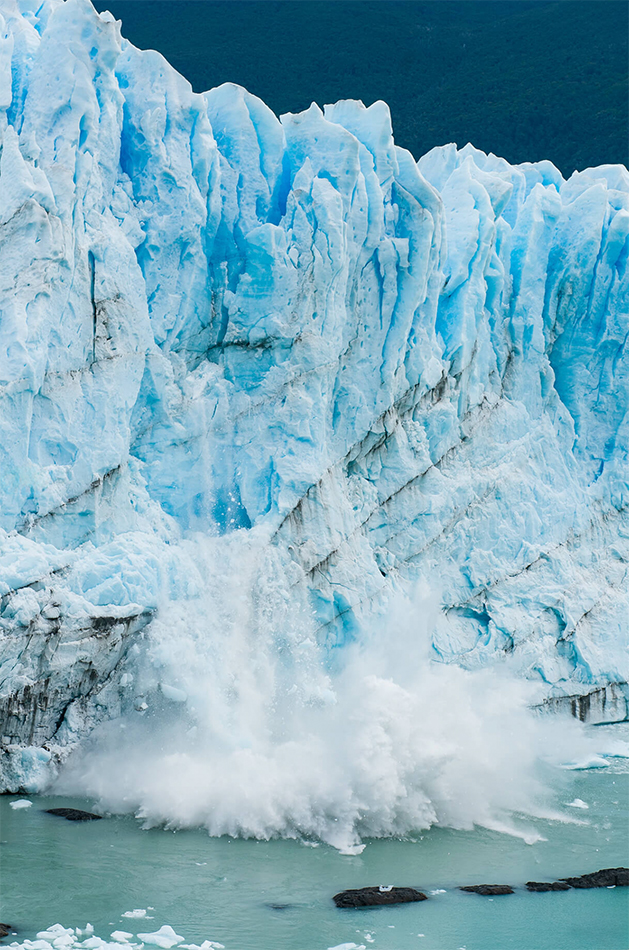
Capture calving. One of the dynamic parts of photographing ice is capturing a large block of ice falling off into the ocean…called calving. Calving can be small pieces, or a thunderous roar when a large piece of ice comes crashing down. I set my shutter 1/2000 of a second and shoot at 20 frame per second. Just be ready when the action happens!
Bring warm clothes. Yesterday on the boat the temp was a very comfortable 53 degrees, overcast with some showers…classic Alaska weather in the summer. But as we got closer to the glacier, the temp started dropping. At the ice the temp was around 40 degrees, maybe even colder. Make sure you bring clothes to stay warm since you want to be out on deck photographing all the time while you are there.