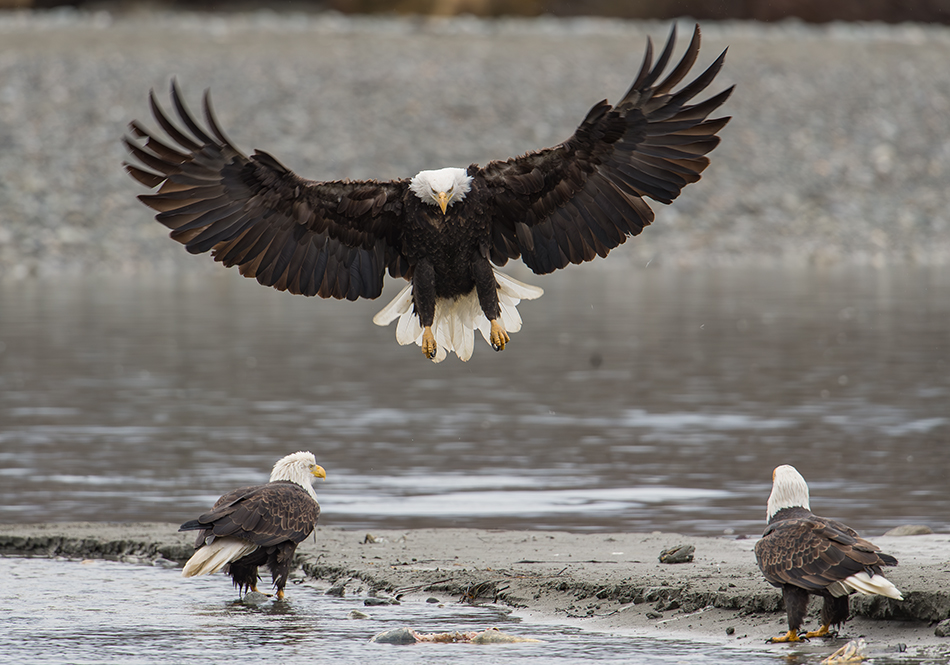
Haines, Alaska. Chilkat River. Bald eagle preserve.Haines, Alaska. Chilkat River. Bald eagle preserve.
Almost thirty years ago a friend and I decided to roadtrip to Haines, Alaska. I was living in Alaska at the time, living the dream of being in the high north photographing Denali climbers, northern lights and incredible wildlife. We loaded up my beat up old Toyota truck, drove through the Yukon at -20F being awestruck by northern lights dancing overhead and wolves crossing the road. After 20 hours of driving we pulled over along the road in the middle of the night near Haines, crawled into our sleeping bags and crashed hard. We woke up the next morning to a surreal scene. Eagles were flying everywhere, diving into the river catching salmon, fighting each other for scraps, circling overhead in groups. I had arrived at eagle nirvana. Chilkat is special, there is nothing like it, and the eagle photography is sublime.
I’m headed back to Chilkat in a few weeks, and after chatting with our workshop participants on what to expect, I decided to do a blog post on tips for photographing eagles in Chilkat. Here goes!
Gear Matters. Do you remember the saying it is not about the equipment, it is about the photographer? Well, that is not exactly true photographing eagles and birds. The new mirrorless cameras have dedicated bird detection modes which significantly improve your ratio of good images. I look at images I took five years ago with top DSLR cameras and I know I would not miss nearly as many shots with the new mirrorless cameras and faster frame rates. This doesn’t mean you have to go out and buy a $10,000 lens, but maybe just updating a camera body will make a significant improvement in your bird photography. If it isn’t in your budget don’t worry about it, you will find plenty of eagles to photograph, and get some great shots. Just be aware that recent developments in cameras and lenses are game changers for wildlife photographers. You will want at least a 500mm or longer for much of your photography, but also bring a landscape lens and 100-400mm for images of multiple eagles perched in a tree.
Haines, Alaska
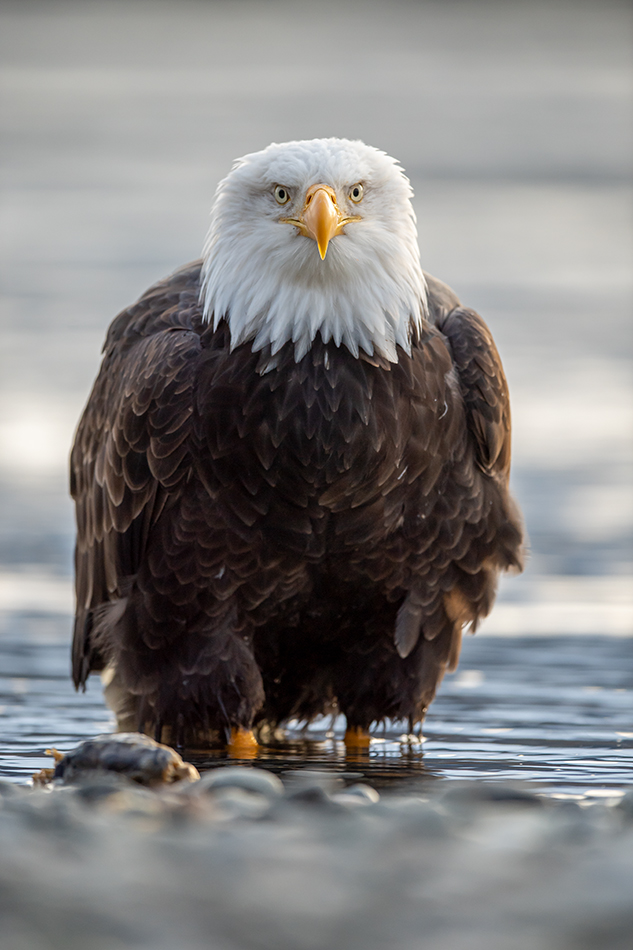
Get Low. You hear this a lot with wildlife photography, and for good reason. Eye level with eagles gives you a more intimate view and connection to their world. Take a seat on the gravel bar, get down low and focus on all the birds around you! I like to set up my tripod about 6 inches to a foot off the gravel bar and photograph the eagles. You can lie down on the ground or sit and use your LCD titled upward to compose and shoot. Bring a small foam pad to sit on to insulate against the cold ground.
Use Auto ISO. Using auto ISO and shooting in manual mode is a great technique for photographing eagles at Chilkat. You choose the shutter speed and aperture, and the camera sets the ISO based on exposure. An eagle might fly from bright sun to deep shade below a tree, and the exposure will change significantly…auto ISO has you covered. If it is an overcast day with even light, you might consider using manual exposure mode since the exposure should be basically the same in the scene. But I still prefer Auto ISO/manual mode shooting. Check your camera to see if you can use exposure compensation in this mode, this is important (see the next tip).
Haines, Alaska. Chilkat River. Bald eagle preserve.
Exposure for the white head. Adult bald eagles have bright white heads, and this can be tricky for exposures. Depending on the lighting and how close you are to the subject, you may need to use exposure compensation to get the right exposure. The last thing you want is to overexpose the eagle’s head. Be conservative here, underexpose slightly so the head is not blown out. Check your RGB histogram, not the luminance (cumulative white one), after the shot. The RGB histogram will give you more accurate readings. You can open up shadows later in post.
Customize your camera controls. No matter what camera system you use, there will be situations where your camera misses focus. Often times all you need to do is use a different focus mode. Set up custom control buttons on your camera and lens so you can change focus modes without taking your eye away from the viewfinder. On my Z9 I often use Wide Area Large as my default mode (for birds), and have my F1 button set to 3D and my F2 set to single point. Also, I frequently set my Focus Recall to the spot where the action is taking place. This way if I track a bird somewhere else in the scene I can quickly refocus to the ‘action spot’ by touching a button on my lens.

Haines, Alaska
Snow is good. My favorite images at Chilkat are often taken in the snow. Atmospherics add mood and emotion to images, and watching an eagle gracefully fly through the snow is pure magic. Bring a good rain cover for your camera, your backpack and yourself…plan on shooting in the snow. If it snows hard your autofocus may not work well…your lens will rack back and forth trying to focus on snowflakes. No problem, just use manual focus. I hear you…track a flying bird using manual focus! It is very possible, you just have to practice. Eagles often fly in straight lines down the river, so you can track them pretty well. Now if you told me to manually focus on a cliff swallow flying past ten feet in front of me I’d say ‘good luck!’ The good news is the latest autofocus systems focus better in the snow. I tracked a great grey owl flying through a blizzard and low grass and my Z9 stayed locked onto the eye the entire time.
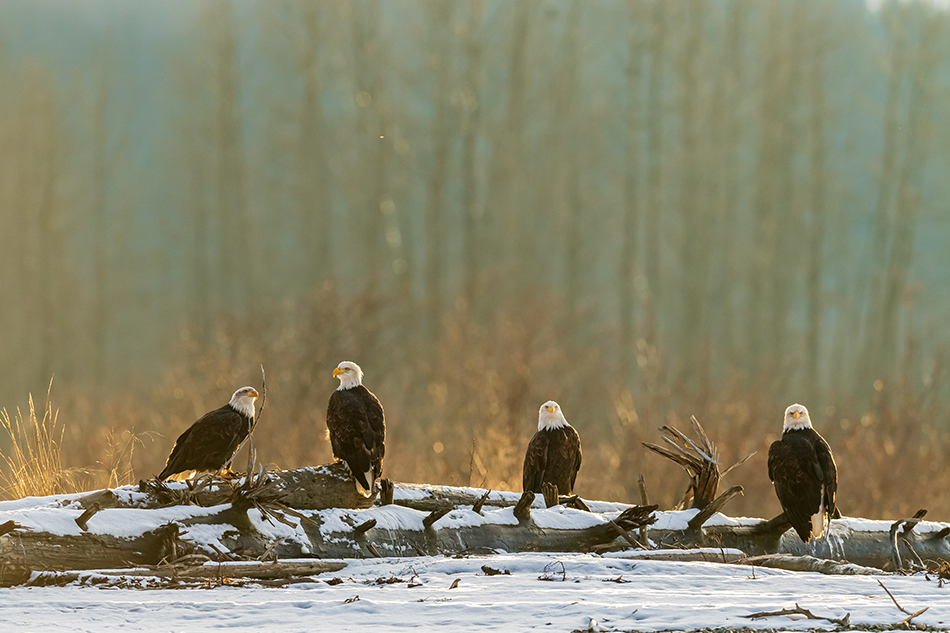
Vary lighting. I think great images hinge on beautiful light. An incredible subject can look pretty uninspiring without interesting lighting. If you get a few sunny days at Chilkat use them fully. Shoot front lighting, side lighting and back lighting of the eagles. Back lighting on eagles can look incredible, the images have specular rim lighting, especially the white head. Shadows are interesting, don’t avoid them, use them to create something different. The worst thing you can do is go into your eagle shoot thinking there is a ‘right way’ to do things. Rules by definition limit your options, stay open to your creative side and use the light. I like to think, ‘there is no bad light, only photographers who don’t know how to use that light’. Something always photographs well in the light you are presented with in the scene.
Haines, Alaska
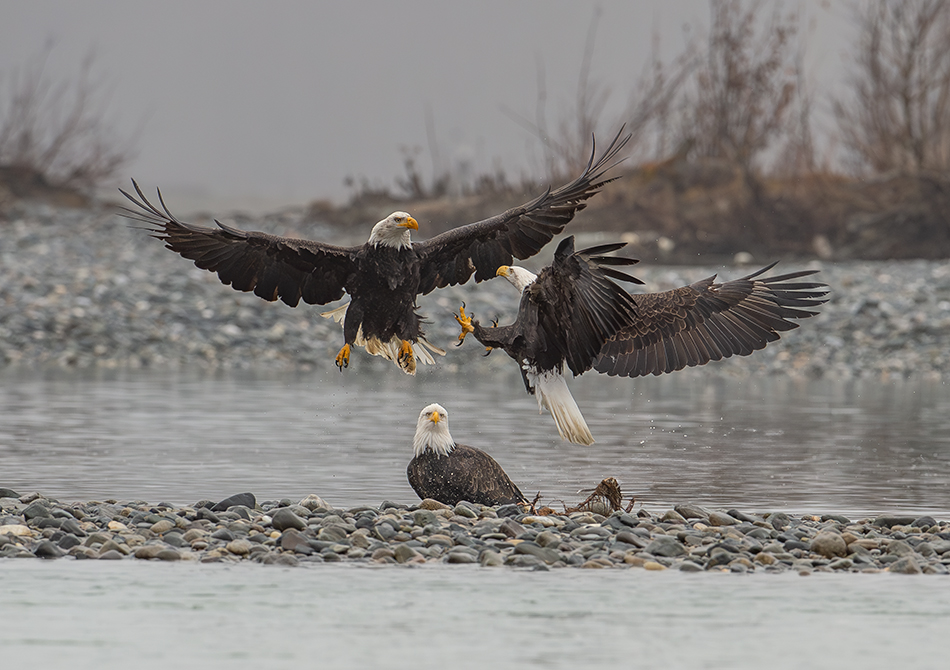
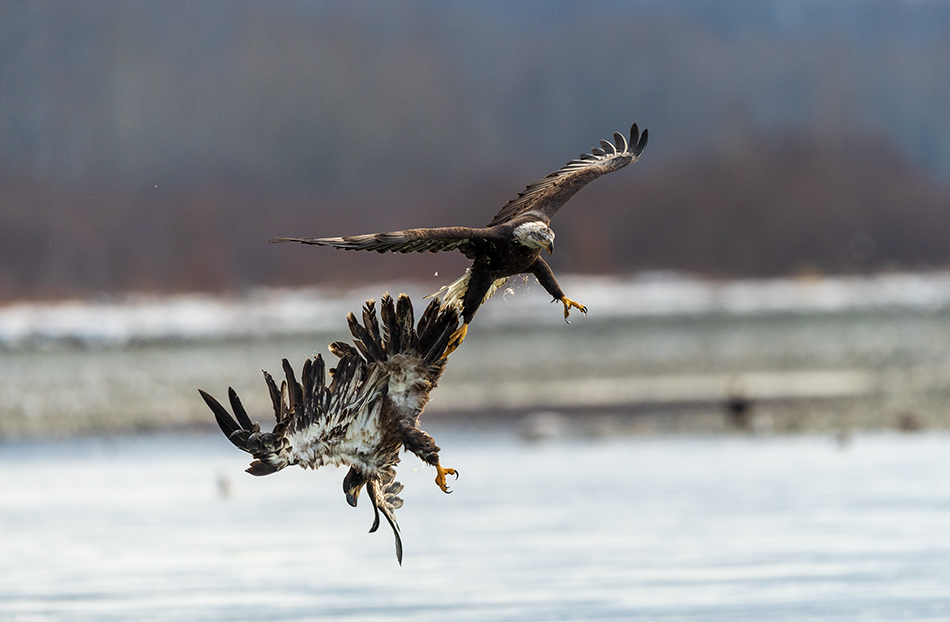
Watch behavior. One incredible aspect of Chilkat eagle photography is the proximity of so many birds with an abundant food source nearby. Salmon fill the river, and the eagles constantly fight over fish. Keep your situational awareness on high alert. Watch for birds that might attack a bird on a freshly caught fish. Often you can see birds approaching a scene from a long distance, giving you plenty of time to get ready for the shot. Birds in trees will often gloat, raising their head vertically and squawking. Perched eagles that defecate are generally getting ready to fly…be ready and get that tack sharp flight shot.
Experiment. My typical progression for Chilkat goes like this. Day one…shoot everything super fast, 1/2000 or faster, and get those tack sharp flying and fighting shots. Day two…okay got the sharp stuff, now let me shoot some backed off environmental images. Day three…hmmm, maybe more of the same? Not even, try experimenting even more! How about shooting at a slow shutter speed and trying some pan and blur flying eagles? What about shooting through the trees at birds on the gravel bar…enough of those clean images! How about lining up multiple birds and shooting wide open for selective focus? We all have certain images we want, but don’t let your eagle photography stop there. Try some new techniques and angles, experimentation invites new ideas and fosters creativity.
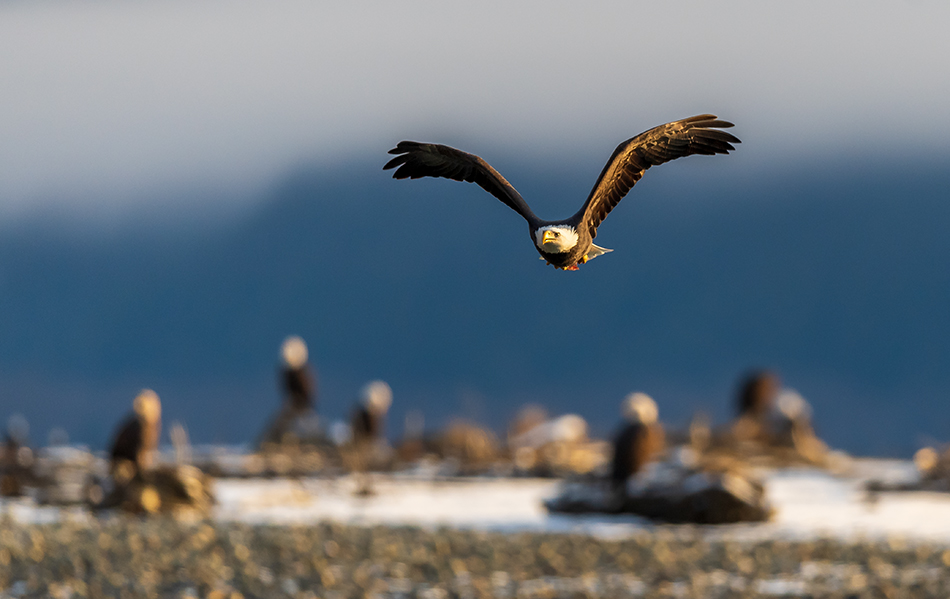
Try a gimbal tripod head. Depending on your lens, you might benefit from using a gimbal tripod head. Gimbal heads allow you to support a heavy lens and effortlessly move it while following a flying eagle. If your lens is light, then maybe hand holding is the way to go…you can point your lens any direction and quickly get a shot. But you can also do the same with a gimbal, maybe just a tiny bit slower. And a gimbal gives you butter smooth tracking. In my experience, I get a lot more sharp images when I shoot my 600mm F4 (or any large telephoto) on a gimbal. Gimbals have a cradle that supports your lens. Pressing on the top of the lens deadens any movement. Pressing on a large lens on a standard tripod head can actually make the lens fall over forward or backward…this doesn’t happen using a gimbal. Realize you can’t mount your camera directly to a gimbal head, you are mounting your lens foot mount to the gimbal. Get this accessory to mount your camera to your gimbal head, or bring a small standard head for landscape photography.