A few days ago I mentioned the new background masking and object selection tools recently added with the latest update of Adobe Lightroom and Photoshop. Along with this update came more masking tools for portrait photographers. It is really amazing how these new masking tools are game changers in our workflow. Quick easy selection and a host of tool to edit the selections…
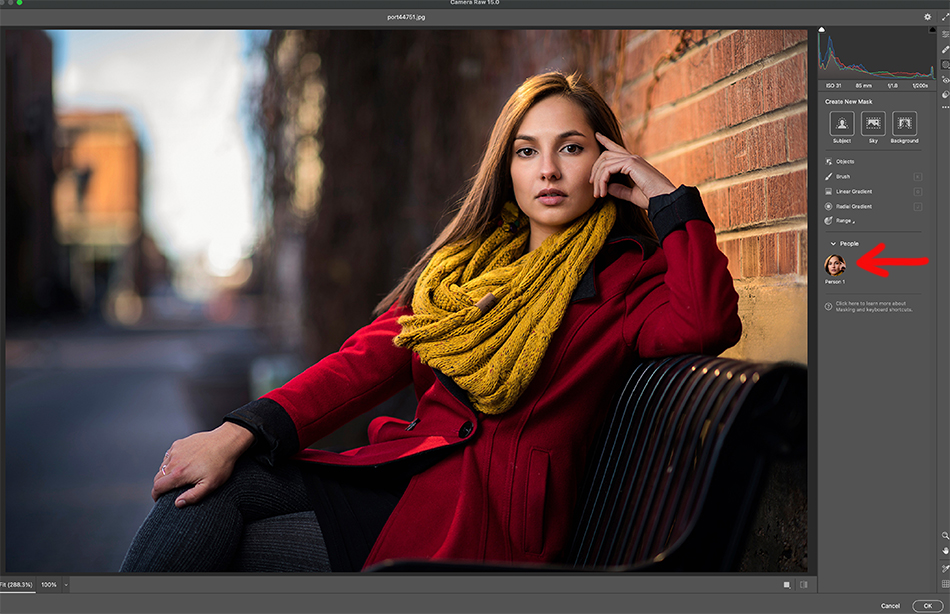
First, select the masking tool (dotted circle on the left side of the window). If you look below the Subject, Sky and Background selection buttons you will see a new button, this one for people (see above). It should show you a preview of the face in the image.
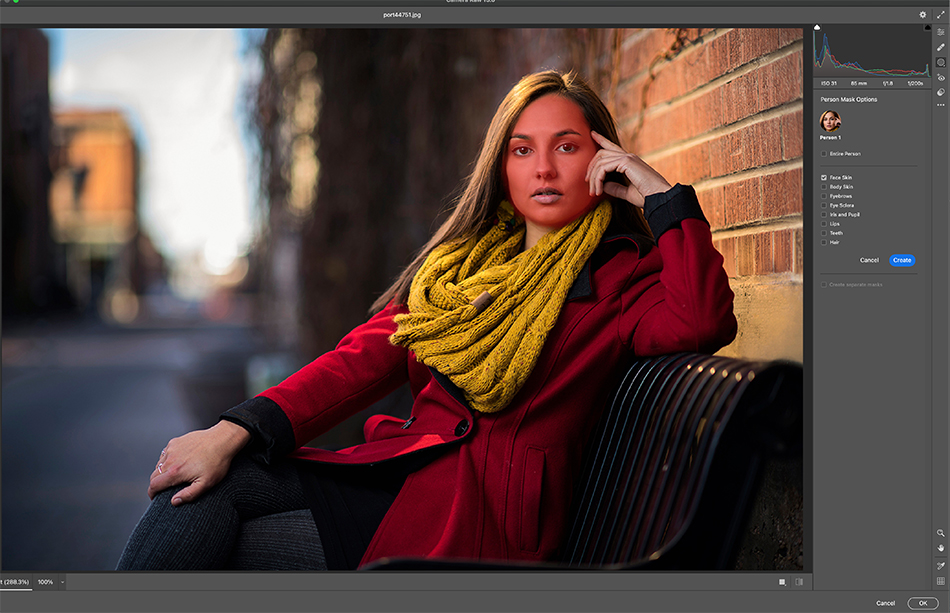
Click in the preview image and the person will be selected. You will get a list of boxes which you can check depending on what you would like to mask and edit. In this case I chose the face.
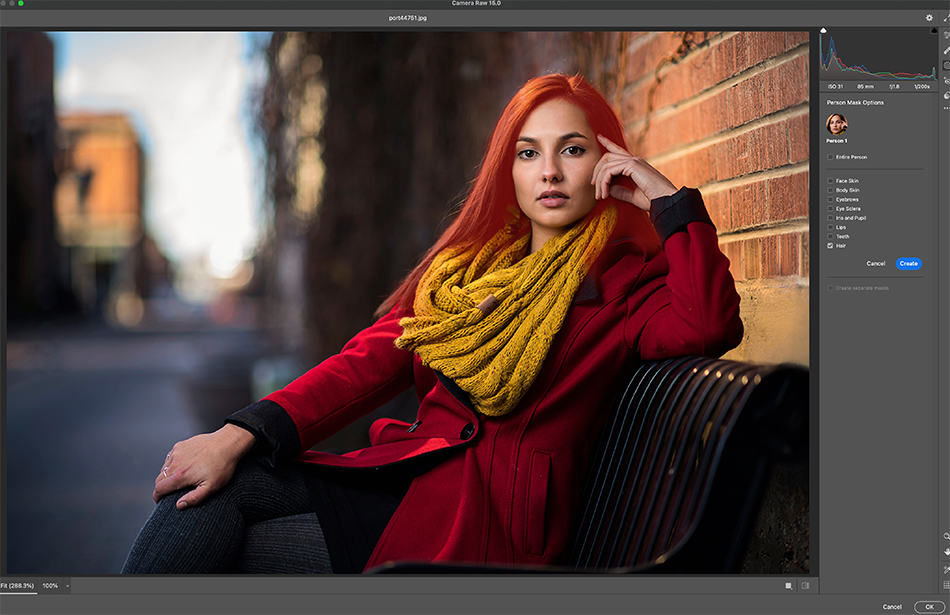
You can also choose a number of different areas including the lips, hair, teeth…etc. Once you have made your selection, you can then start to edit. Many photographers will like to use the Texture slider by pulling it to the left to smooth out skin. You can also reduce skin hot spots from lights by pulling the highlights slider to the left. This is the tip of the iceberg. You now have the ability with portraits to select different areas and edit them as you like. Want to make lips more red…go for it. How about adding texture to hair…no problem. Adobe continues to add useful features, making certain third party plug-ins unnecessary.


