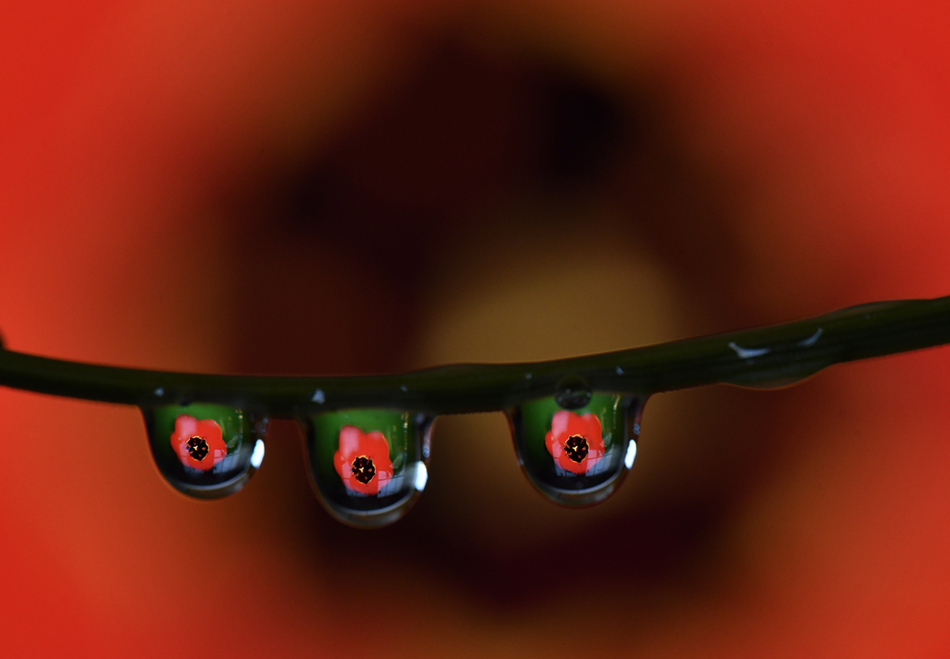
Cree and I are really excited our online macro classes are almost full, we can’t wait to start those classes next week. One topic we will go into detail with during the class is macro droplet photography. Photographing water droplets requires a lot of patience and methodical setup, but it is a blast! You will spend hours before you know it working on your image. The obvious technique is photographing outside after a rainstorm. You can get some incredible shots, and sometimes the water droplet formations are simply incredible. Another trick would be using a spray bottle to add water to subjects.
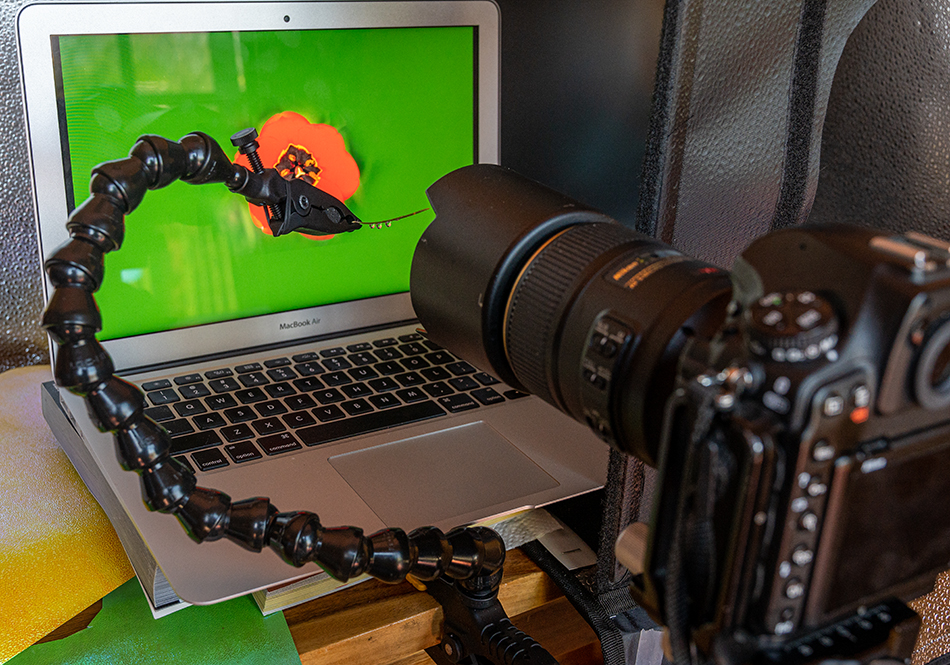
But all week in Colorado the wind has been blowing, making outdoor macro photography impossible. So I decided to move inside. I picked a pine needle as a horizontal object to attach the water droplets. Now came the hard part. Adding water precisely isn’t easy. I highly recommend a syringe or eye dropper for precise droplet placement. You can also use glycerine or honey, both stick a little better. But don’t breath hard or your water droplets will fall off. Once I had the droplets in place, all I needed was an interesting background. Many items will work well….colored fabric, flowers, flags all work well.
But for this shot I used another macro trick. I placed my laptop with a nice flower image on the monitor full screen. I turned up my monitor brightness all the way, so now I had a backside illuminated flower behind my droplets…awesome. I shot around F11 to get the right amount of depth of field. Remember, you have to focus on the image in the droplet, and don’t forget the refractive image is upside down from the background.,
Have a favorite flower image? Blow it up on your laptop and use it as your background for your next macro droplet image.

