Texas birds
One of the advantages of developing images in Lightroom is the ability to quickly and easily monitor your develop steps. Many of us are familiar with the History palette in the Develop module of LR. Just look on the right side and you can see all your develop steps. If you want to go back to a certain step, just click on that edit in the history and you are back to that point. And that is where Snapshots are nice. They allow you to take a snapshot of the current edited state of your image. This way you can quickly go back to that edited state of the image and start fresh going with a different look. But what if I want to create different versions of the same image and compare them? Then you would choose Virtual Copy.

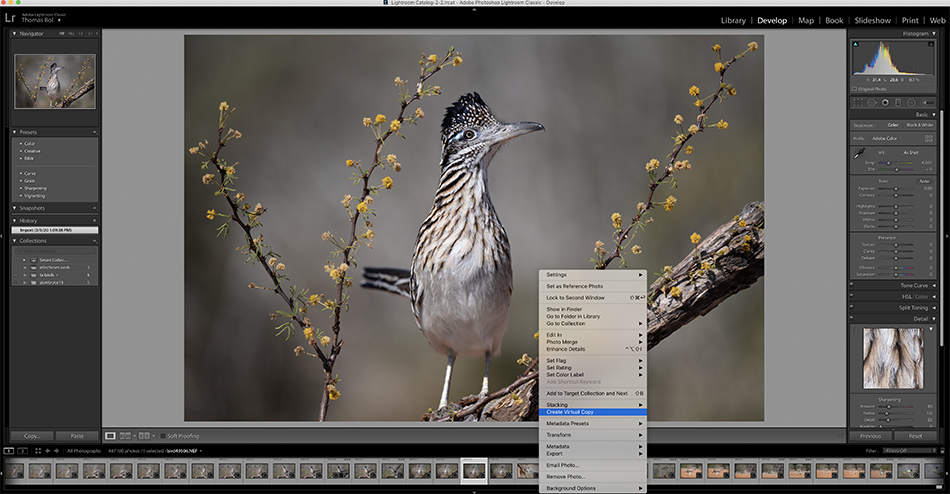
While I might use a snapshot once in awhile, I use Virtual Copies a lot. I like to develop my images a few different ways, and then compare them in LR. To create a Virtual Copy, simply right click (control click) on the image and choose create virtual copy from the drop down menu. Virtual copies are only created in the LR catalog, they are not new files on your hard drive. They show up right next to the original image in Grid view or on your filmstrip.

Select the versions you want to compare, and hit the ‘N’ key to compare the images. Your original image along with your virtual copies are now shown in a contact sheet for your to compare…very cool. I often find I develop landscape images slightly differently, and this gives me a great way to compare my edits. Virtual copies are awesome!