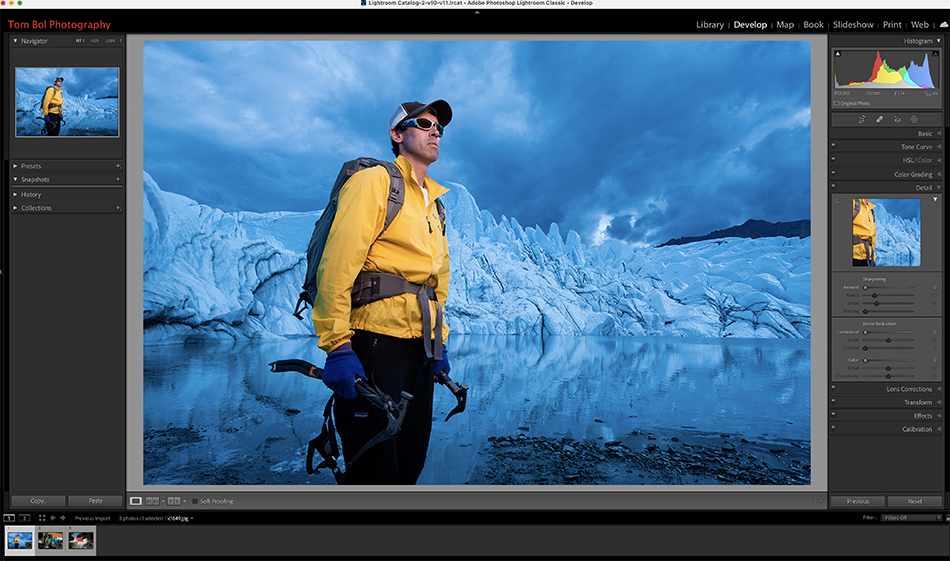
Lightroom (and Photoshop) has another way to further refine your selection using the new masking tools. It’s call Intersect Mask, and here is how it works.

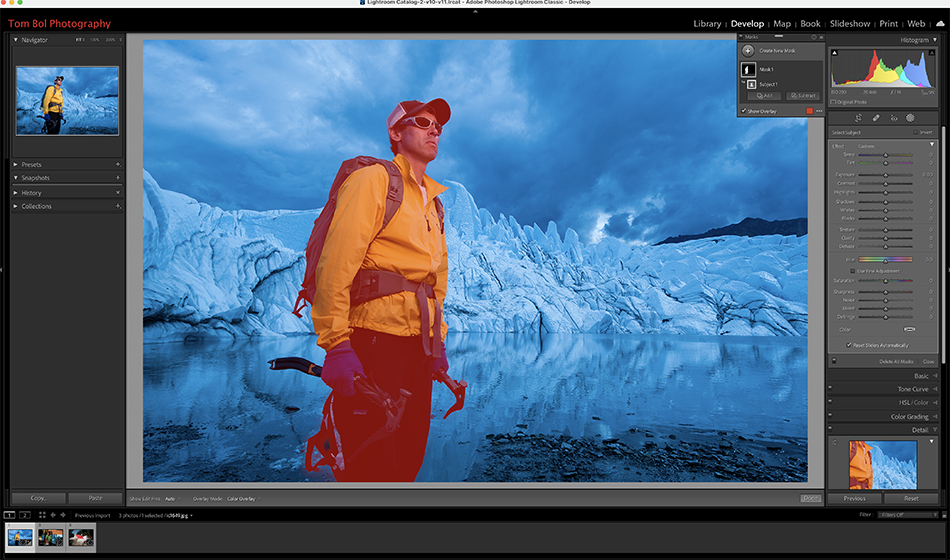
Take a look at this image at top…a portrait of a friend during an adventure sports workshop in Alaska. Using the new ‘Select Subject’ feature, let’s first see how that does selecting subject. As you can see from the image above, it did a perfect job.

But what if I want to just select his coat within this Select Subject selection? Click on the three little dots beside your select subject mask, and you will see a choice of ‘Intersect Mask With’. Click on this and you will have a new selection window. I choose Color Range since his coat was yellow, and clicked on his coat.,

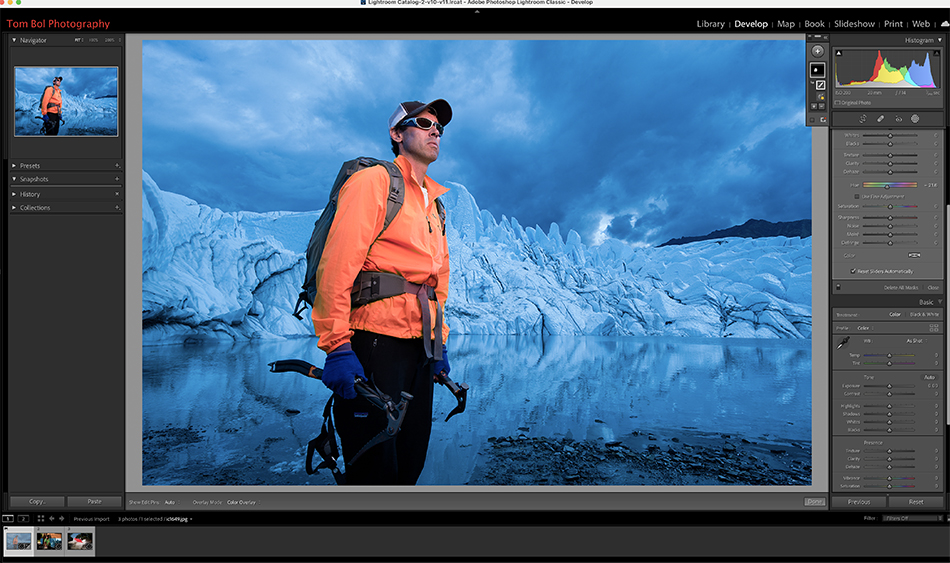
This did a great job of selecting his coat. I chose ‘Add’ and used a brush to further refine the selection.
With his coat selected, I used Hue, Saturation, Temp and Tint to change the color of his coat. Just think of Intersect Mask as a way to select within a selection. We now have another way to refine our selection, and adjust specific parts of an image.