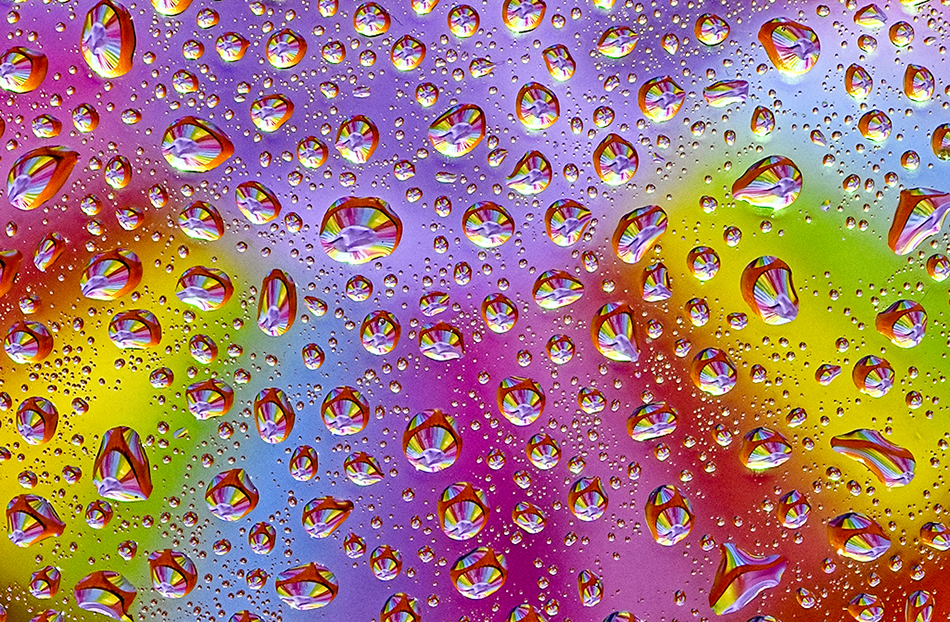
We are starting up our next round of cabin fever macro next week, and I am always excited about creating new bubble images. I have received a lot of emails about how this works, so I though I would outline the basic technique. Just a warning, though, it is addictive!

First, you are going to need a piece of clear glass or plexiglass. I bought a 12 inch square piece of plexiglass from Amazon. Next stack up some books or something similar to elevate the glass about a foot or more off the ground. Now get your tripod and camera set up aiming down at the plexiglass. I use a D850 and my 105mm macro lens and set it about one foot from the glass. Now comes the creative part. Decide what you want reflected in your bubbles. I often place a glitter paper on ground, and put objects like match box cars, colorful stickers and paper, dominos, playing cards on the paper which will be reflected in the bubbles.
To create bubbles, I spray Rain-X on the glass, wipe it off, and then spray water from a mister onto the plexiglass. The water bubbles nicely after the Rain-X treatment, and reflects whatever is on the ground below it. Creative lighting can help. I often use small lights to illuminate different parts of the scene for creative looks.
The last trick here is focusing. Even though the bubbles are really small, I normally shoot a 20 frame focus stack at F5.6 to get sharpness through the shot.
We hope everyone has a great weekend. And if you are interested in learning lots of macro, consider joining our online class next week. Happy shooting!