We have had a fantastic week of teaching speedlights, three classes each day, and participants have been creating some fantastic work (check out on Facebook ‘Photos for Inspiration TBPW’). We have covered numerous topics…but the one thing that surprised folks was how much you can do with one flash on camera. We showed seven on-camera techniques before we even got to off-camera flash. Since we have received a lot of emails wondering when our next speedlight class is, we just posted a new class for later this month…All About Speedlights.
One on-camera technique that was a huge hit was dragging the shutter, or what I knew it as when I learned commercial lighting….shake and bake. This technique is best done in a dark ambient environment…twilight or after dark outside, and in dim interior lighting. I like to drag the shutter this way. First, I set my camera mode to Manual mode. I set me exposure for the ambient light (you could use aperture priority as well). You are going to need a slow shutter speed, 1/2 second or longer is best. I attach my flash to my camera, and set it in TTL mode. I find TTL mode gives me the correct exposure most of the time, but if you prefer, you can use manual mode and dial in your exposure.
Your subject placement is also important. You will want your subject close the the camera/flash, and your background pretty distant. If your flash hits the background, you won’t get good results. I like shooting a portrait in the city at night, with distant neon behind my subject.

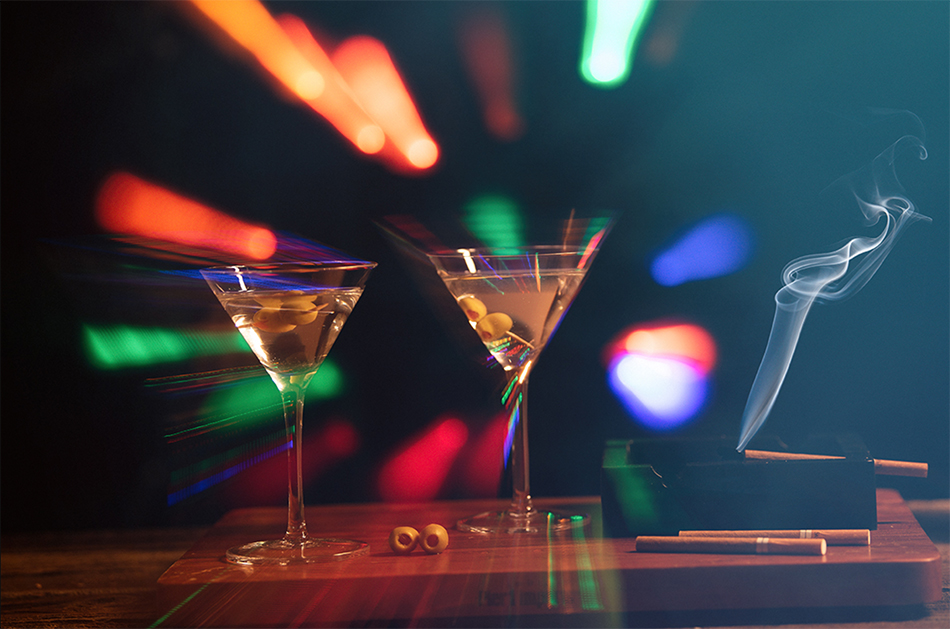
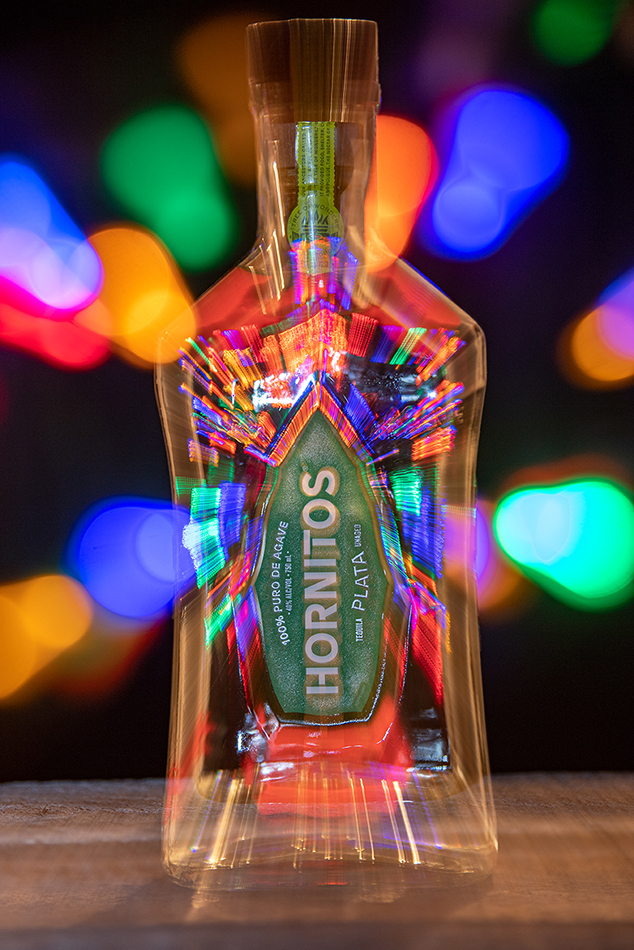
Here is how it works. You take your flash shot, and while the shutter is still open during your long exposure, you shake the camera. The flash freezes (bakes) the subject, while your camera shake will blur the background. You can also try zooming in and and out like the image above shows. Shake and bake is great for conveying movement, high energy or just going really artistic and abstract.

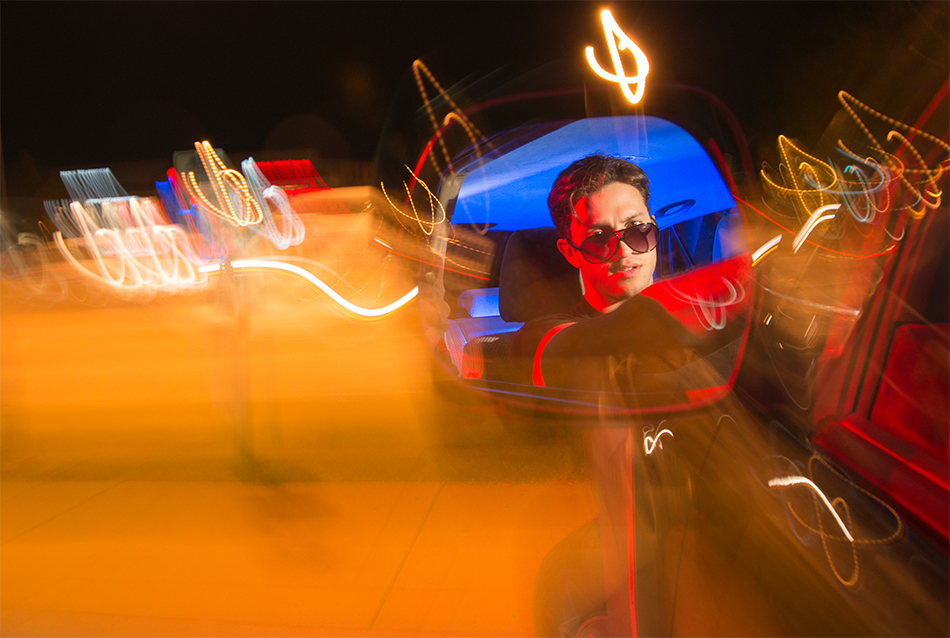
We had a magazine shoot that required dragging the shutter. To add another layer of dimension, we decided to create a portrait of our subject in a car rearview mirror. In front of the car was a busy street and shopping area. First, to light the car interior we used three speedlights. One flash had a blue gel to light the interior. A second flash had a red gel to add an accent light to the model. The third flash, our main light, was shot through a small softbox at our model. The camera was set to a five second exposure. After the flashes went off, I shook the camera as cars raced down the road combined with city lights. Fun stuff!
If you have any interest in learning more about your flash, please join us on our next class. Class size is small and interactive, we start with the basics, and can help you get started with whatever flash/camera brand you use. Have a great weekend!