Slovenia
If you are not familiar with the Dehaze filter in LR or Photoshop, you should be. This slider can be the silver bullet to improving images…or making them totally over processed. Some situations you can just grab the slider and do a global adjustment. Try it out on Northern Lights images or hazy scenes (thus the name Dehaze), you will be dazzled. You can locate this filter in the Effects menu in both LR and Photoshop. While this filter might do wonders on some images, more likely only parts of your image need the Dehaze Filter. This filter will increase contrast and darken shadows, an effect you might not want in many parts of your image.

Slovenia
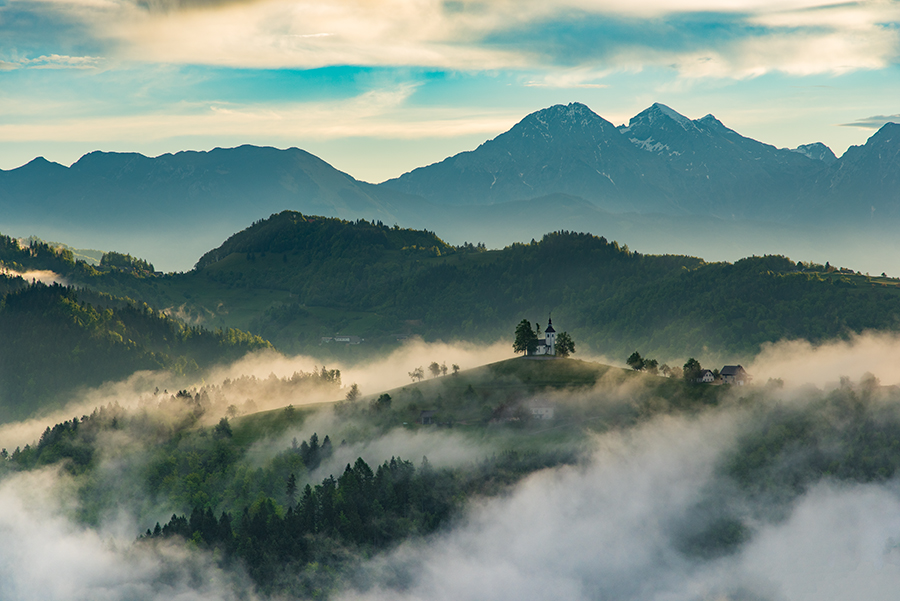
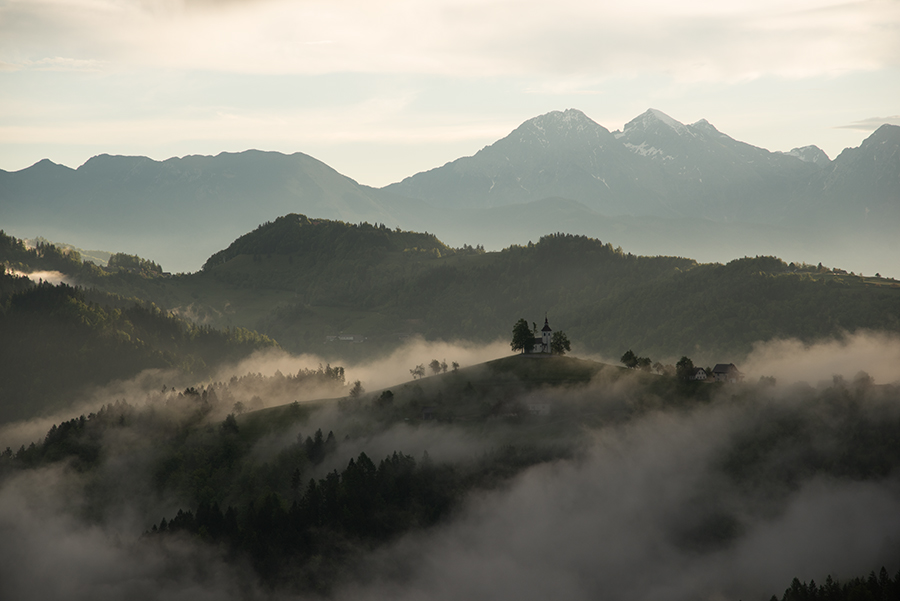
The good news is the Dehaze Filter is an option in the Adjustment Brush and Gradient Tool in LR and Camera Raw in Photoshop. Apply this filter selectively for better results. The image above was the unprocessed shot before I applied selective Dehaze edits. The image at the top of this post was processed using Dehaze in the sky with the Gradient Filter, and Dehaze on the middle mountain ridge using the Adjustment Brush. Remember a basic editing rule; global adjustments are fine for a few actions, but selective adjustments are often what bring an image to life. Try the Dehaze Filter out using the Gradient Tool or Adjustment Brush, it can really transform an image.