Part of our creative camera craft class yesterday was talking about how to create or enhance existing beams of light in an image. Sometimes you just want those beams to be a little distinct, and other times you want a beam of light where there is no beam of light. Lightroom has an easy way to do this.

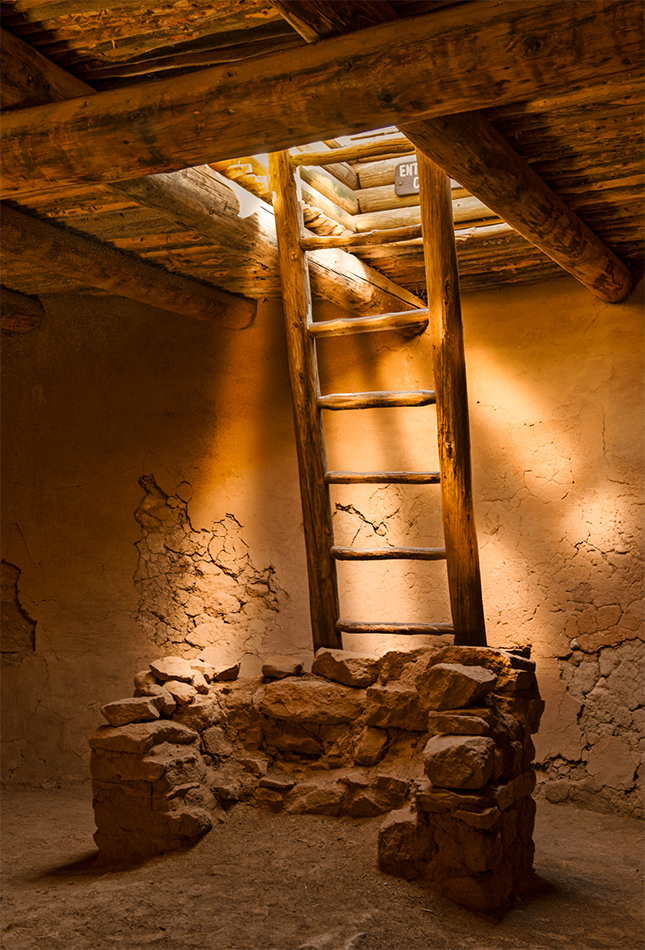
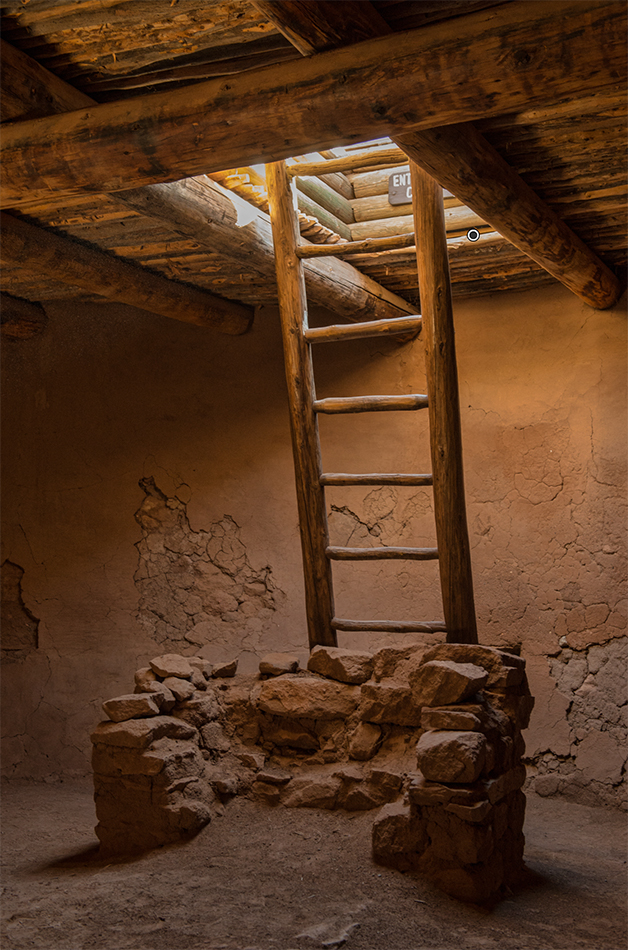
Here is a southwest Kiva shot that needs some beams of light. First, choose the adjustment brush. Set the flow and density to 100 percent. Feather the brush slightly, this will soften the edges of your beam. Next, reduce the brush size to about the width of a pencil. Now grab the exposure slider and crank it all the way to 100 percent. Your beam of light will appear very bright, which helps you see your effect. You can reduce opacity later to make it look more natural in the scene.
Creating the beams is easy. With the adjustment brush selected, click where you want the beam to originate from. Next, position the cursor where you want the beam to end. Enlarge the brush about three times in size (use the bracket keys to enlarge the brush). Now, hold down the Shift key and click on the spot where the beam will end. Magic! Now you have a nice beam of light between your click points. Experiment with opacity and changing the color temperature to match the scene. The image at top was done this way. Notice the beams even record shadows of the ladder rungs when they go across it…very cool!
Have a great 4th of July!!