We are winding down our Photoshop classes, and have had a great time with folks. Many participants were excited to learn new PS skills, and one of my favorites is layer blending modes. We used blending modes for sharping, saturating, star creation, text overlays…to name a few. But one of the most simple, and most useful blending modes is used to ‘add city lights’ to those blue hour images.
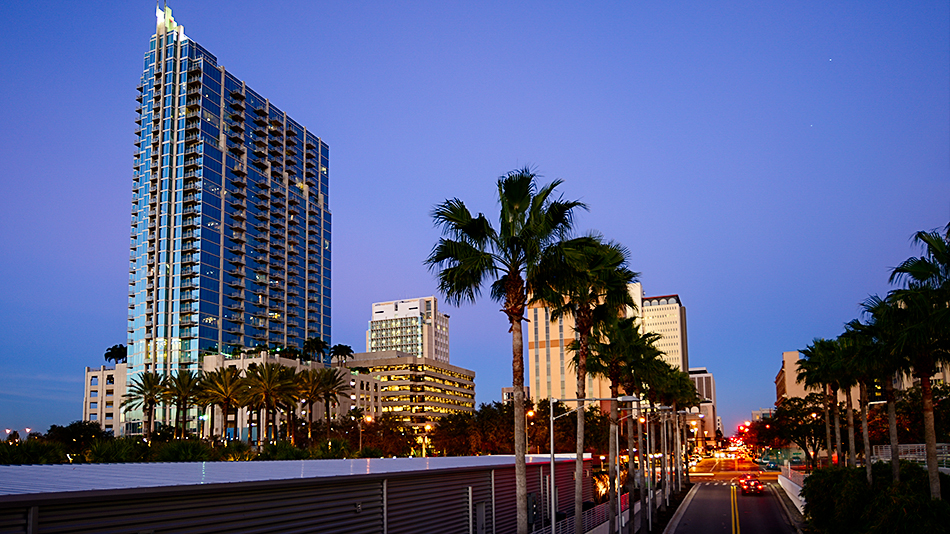
Photographing blue hour with cityscapes is a great technique. Twilight begins, and slowly the city lights turn on, until it goes totally dark. But what often happens is many lights don’t come on until it is too dark for a good exposure. But what if you could combine an early bright shot with a dark images will the lights on. With blend modes it is easy to ‘turn the lights on’.
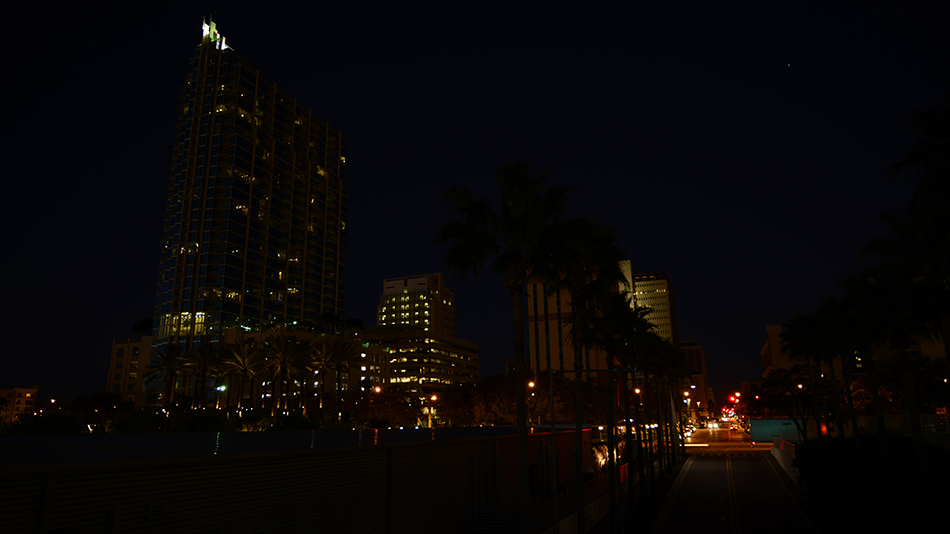
First, choose two images, one with a nice bright exposure and one with a dark exposure with lights turned on. Next you need to open those image in PS. Now, select and copy (command A, then Command C) the dark image. Click on the bright image to open it, and paste (Command V) the dark image on top of the light image.
![]()
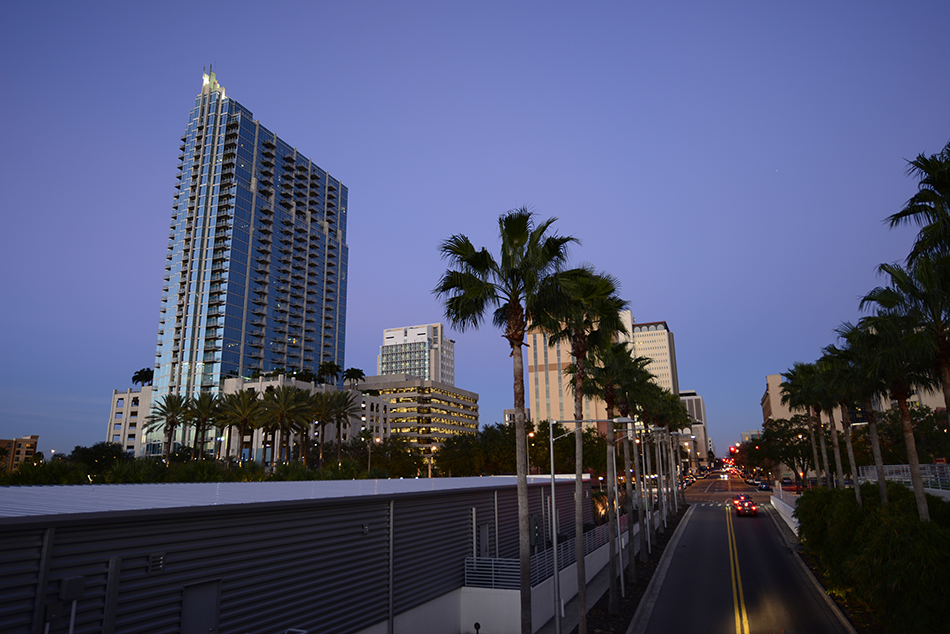
Here is where the fun begins. In the layers blending mode box, scroll down to ‘Screen’. Presto! The lights from the dark image are now turned in the light image.
Have a great weekend!