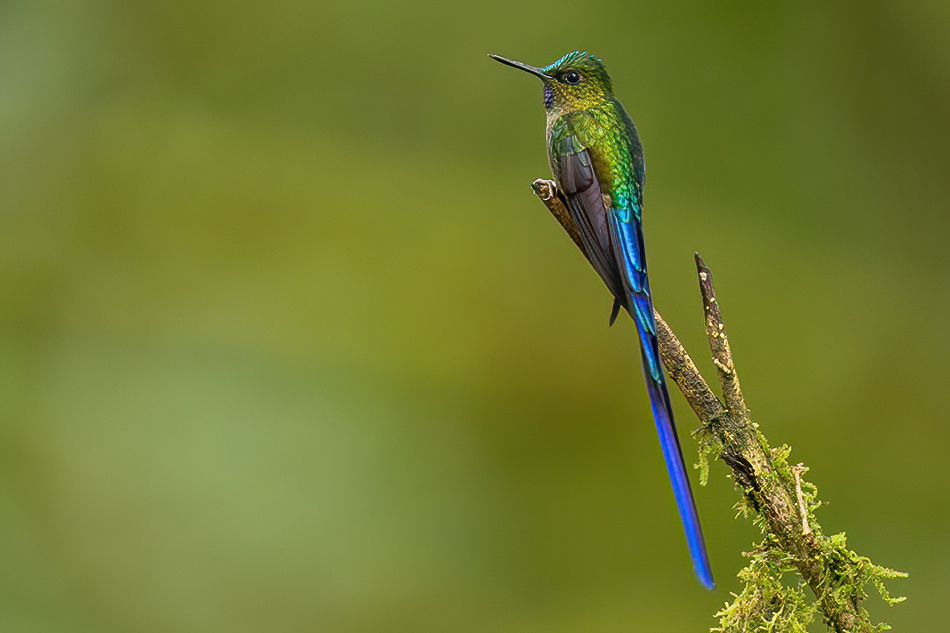
I just returned from an incredible bird photography trip to Ecuador. Cree and I were putting the finishing touches on our future Ecuador workshops…if you like to photograph birds, you will want to go on this workshop. We stayed at a hotel high in the cloud forest, and literally had hundreds of hummingbirds at the feeders right outside our room…over 20 species, including the Violet-tailed sylph. One day we had a lot of clouds roll in, and I decided to use fill flash to add just a little snap to the shot. The sylph has a long tail and incredible color…but the overcast light wasn’t highlighting this plumage.
Fill flash for bird photography can get a little gear intensive. First, you will want to add a Better Beamer or similar flash extender to project your flash far enough into the scene. You can attach this right onto the flash, and attach the flash directly onto your camera. I normally set my flash to TTL at -2 or even lower to add just a touch of light to the scene. For metering I use manual mode and set the correct exposure. You don’t want to darken the background, just add a slight touch of flash to the bird. Make sure to enable High Speed Sync so you can use shutter speeds faster than 1/250. Adding just a kiss of light will improve color, contrast, acuity and add catchlights into the eyes. But you might notice something else in the eyes….steel-eye.
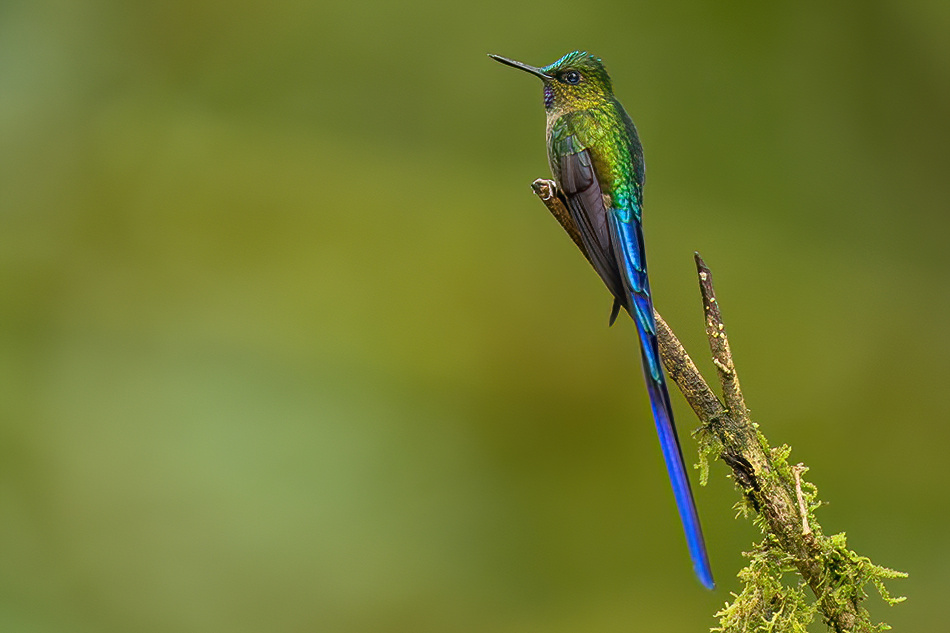
Take a close look at this image above. I used a camera mounted flash with better beamer to photograph this sylph. If you look close you can see a gray lower highlight in the bottom of the eye. This occurs when the bird is looking right at the camera, and the flash is mounted directly on the camera. How can you fix this? Two options…elevate your flash, or fix it in Photoshop.
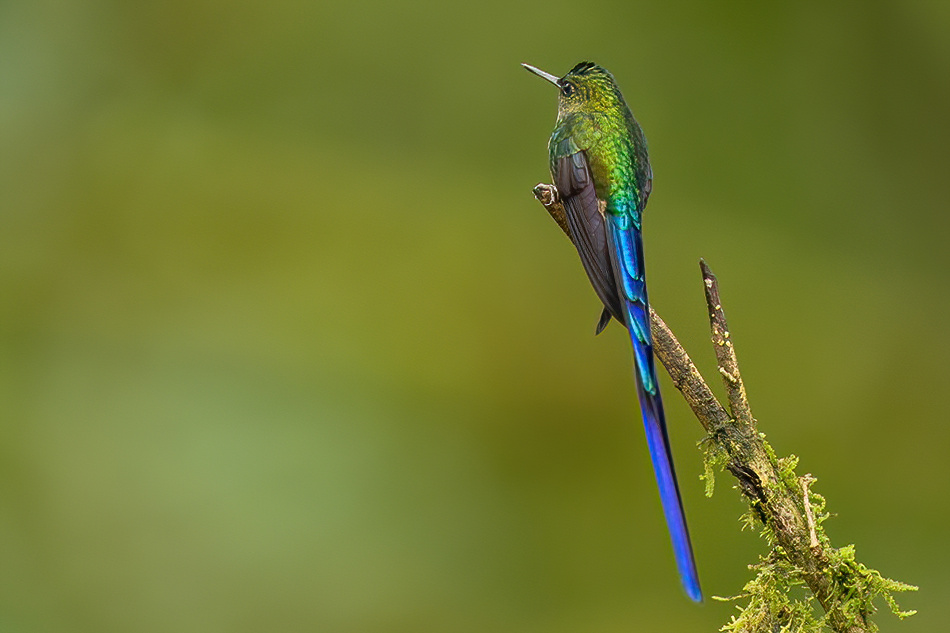
Not all bird photos will have steel-eye. I’ve shot hundreds of birds, monkeys and other animals using camera mounted flash with no problems. If the bird isn’t looking at you, you will not see steel-eye…see the picture above.
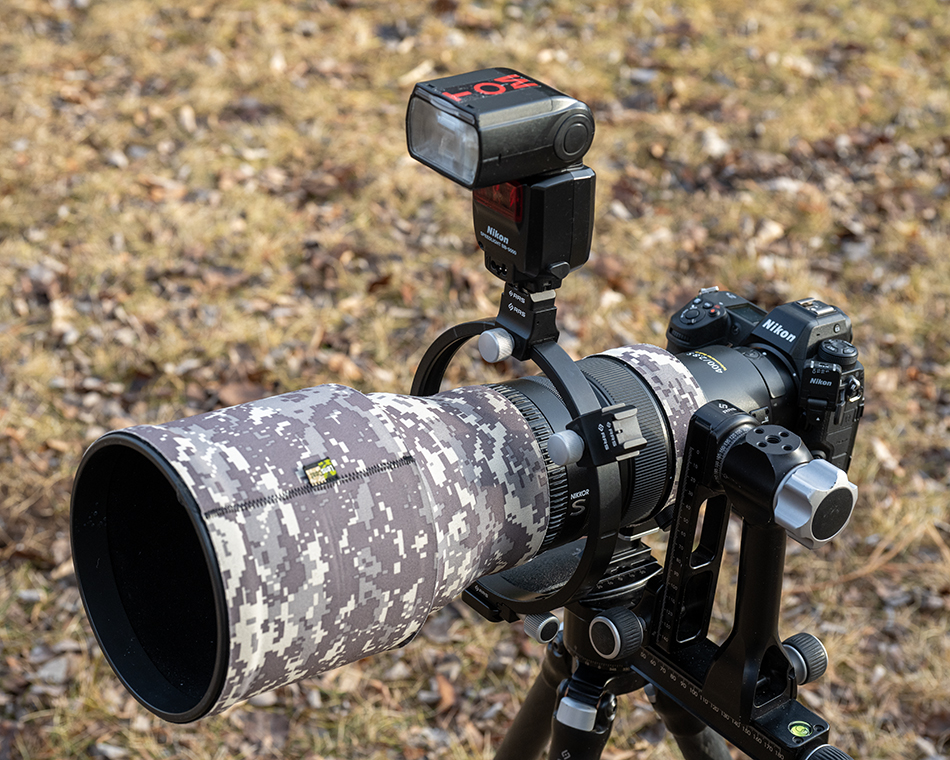
To mount your flash a little higher on your camera you have many options. Pictured above is a RRS flash bracket that gets the flash a few inches higher which will help solve the issue. Other companies like Whimberly have brackets that can mount the flash at different heights to deal with steel-eye. You can trigger your flash using these brackets using a wireless transmitter or a flash cable. I like to use my WR-R10 on my Z9 to eliminate the bulky cable.
Do I use fill flash on all my birds? Only occasionally when the light conditions are not working…bright backgrounds on shaded birds, dark overcast murky light. But the majority of my images are taken with available light. Remember you can’t shoot at 20FPS using flash!
If you are interested in learning this technique, as well as multiple flash for hummingbirds, and photographing an amazing array of birds like toucans, tanagers, honey creepers, and of course hummingbirds, check out our workshop here. Have a great weekend!