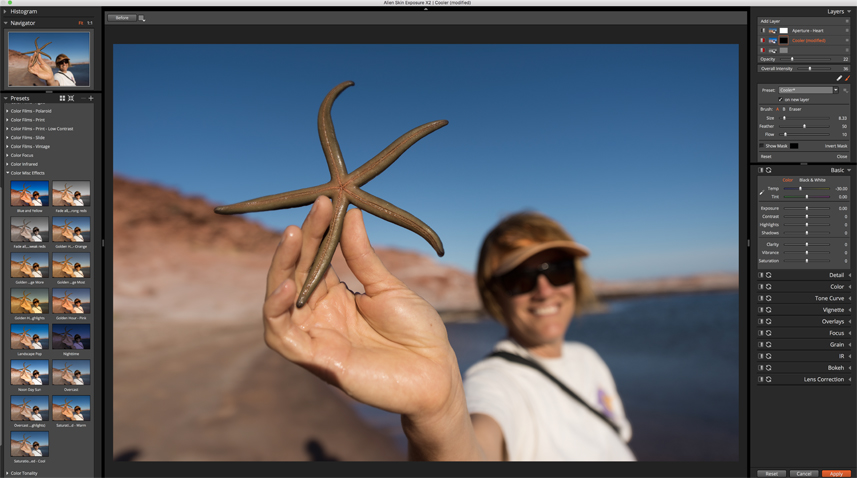
I have been using Alien Skin since it first came out. Their film presets are unmatched and extensive, and with each update they keep adding great features. If I want to do some creative work on a portrait, I go to Alien Skin. Black and white conversion, I go to Alien Skin. Add some cool flare overlays, I go to Alien Skin. More recently they have added robust browsing and editing using your existing folder structure, all in one module. Alien Skin can be your ‘one stop shop’ for organizing and editing your images.
But there are some features I always go back to Photoshop to use. And one major reason I work in Photoshop is I like to work in layers with masks. Mask layers give you incredible control and options you just can’t find in basic develop modules. Alien Skin heard this feedback from photographers, and has now launched non-destructive layers in Exposure X. You can add a new layer with the click of a button, and the layer is created with the image side by side with a mask. The mask gives you the ability to brush in areas you want to apply the effect. There are also options to control opacity and overall intensity of the effect. And here is where it gets fun. You can add any one of the hundreds of presets as a new layer. And if that is not enough, choose the brush tool and select a preset from the drop down menu. You will find brush presets like dodge, burn, enhance iris, whiten teeth and soften skin, giving you some very useful tools to retouch images. Check out this video for a great introduction to what the new layers can do for you.
Using layers combined with other adjustments can add up. But similar to Lightroom, there is a History palate so you can scroll back to a certain point in your workflow. Very handy for sure. Take a look at what’s new in Exposure X, you’ll find lots of great tools and innovative options for your image workflow .