Fort Collins, CO. portrait
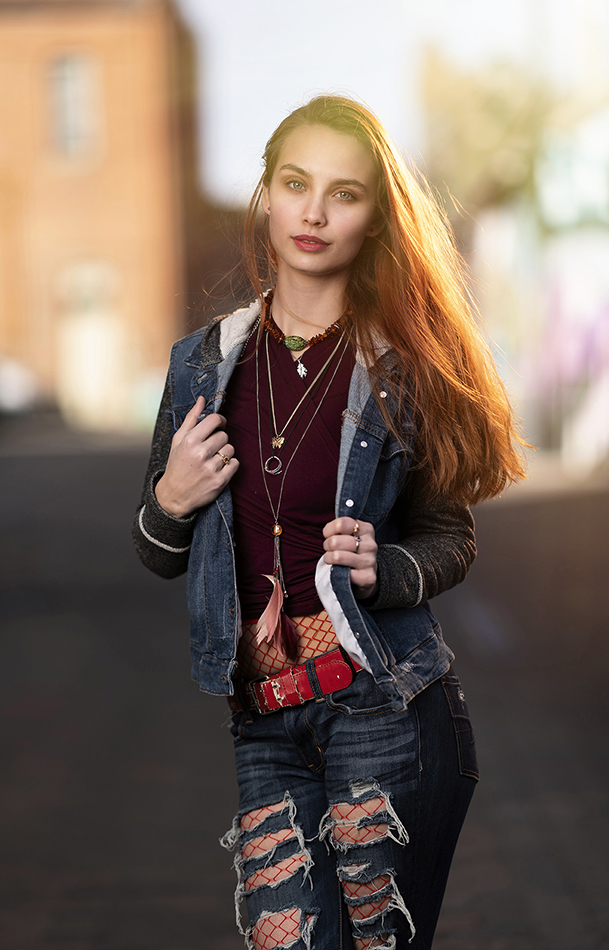
I shoot a lot of portrait assignments for magazines and advertising. On some tourism shoots we might photograph 40 or 50 different people over a one week shoot. Often the client wants light, airy inviting people images….and light/airy often means adding sun flare. Flare adds a positive uplifting feeling to most portraits, which is what many editors and art directors want. With lit portraits, flare often adds a nice ‘lifestyle’ feeling to the shot.
Photographers are taught that flare is not good, and to avoid it. But I would argue the opposite. Sure, you don’t want flare in all your images. But on the other hand, maybe it is just what you want to create a mood in your landscape, portrait or wedding image. How do you create flare? Line your subject up so that the sun is almost on the same axis as your lens. You can see flare in your viewfinder; experiment with slight shifts to see how the flare plays out in the final shot.

Fort Collins, CO. portrait
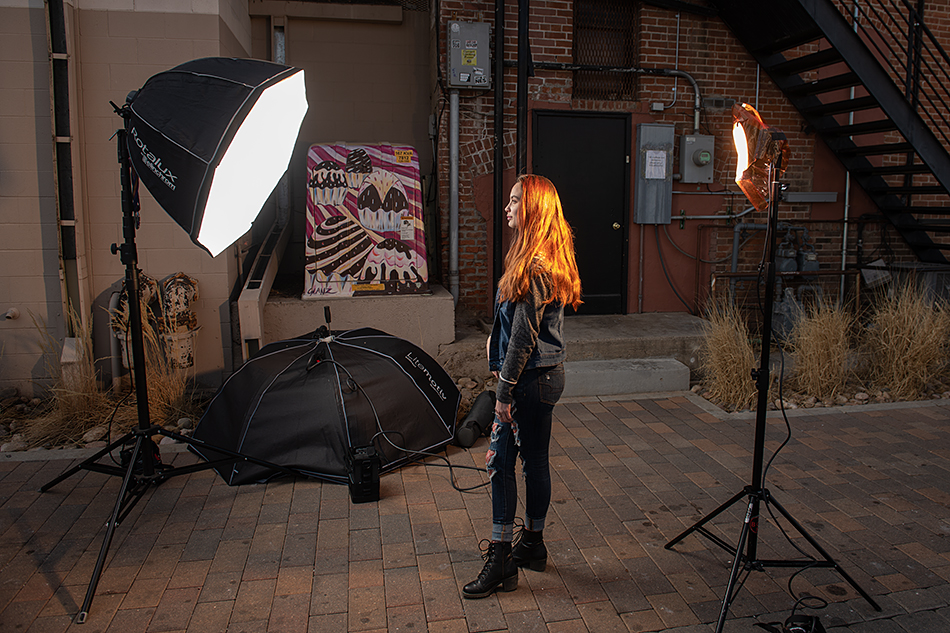
If you don’t have the sun, create flare using a flash. Here is the behind the scenes of a recent shoot. We wanted some sunlight in the model’s hair, so we set up our Elinchrom ELB500 lights in a cross lighting setup. The background ‘flare’ light was a standard reflector with a full CTO orange gel over the strobe.

Fort Collins, CO. portrait
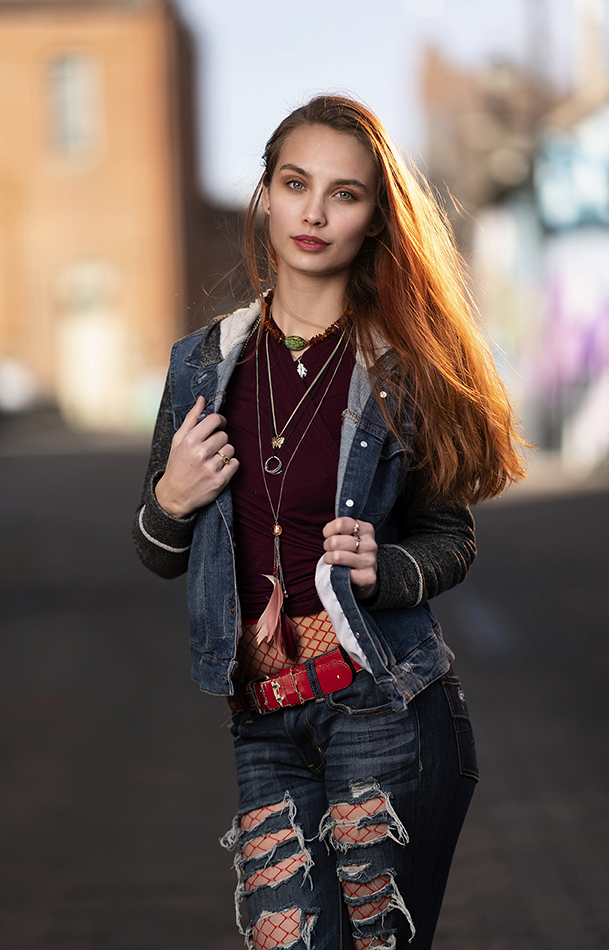
This orange gel along with the direct, harsh light created ‘sun’ and a little flare on the model. If I moved the light in more alignment with my camera, I would have created more flare. But there is a third way to add flare; in post processing. You can create flare using photoshop with a little work, but there are programs that can easily do it for you. For this image I used Alien Skin Exposure 4 and added flare. You can move the flare origin point around, and then reduce opacity for a realistic effect. The image at the beginning of this post shows the effect.
While flare isn’t something I want to use all the time, it can be a nice change from clean, sharp images. Take a look at portraits in travel magazines…I bet you can find images using sun flare. Give it a try, you might like it!